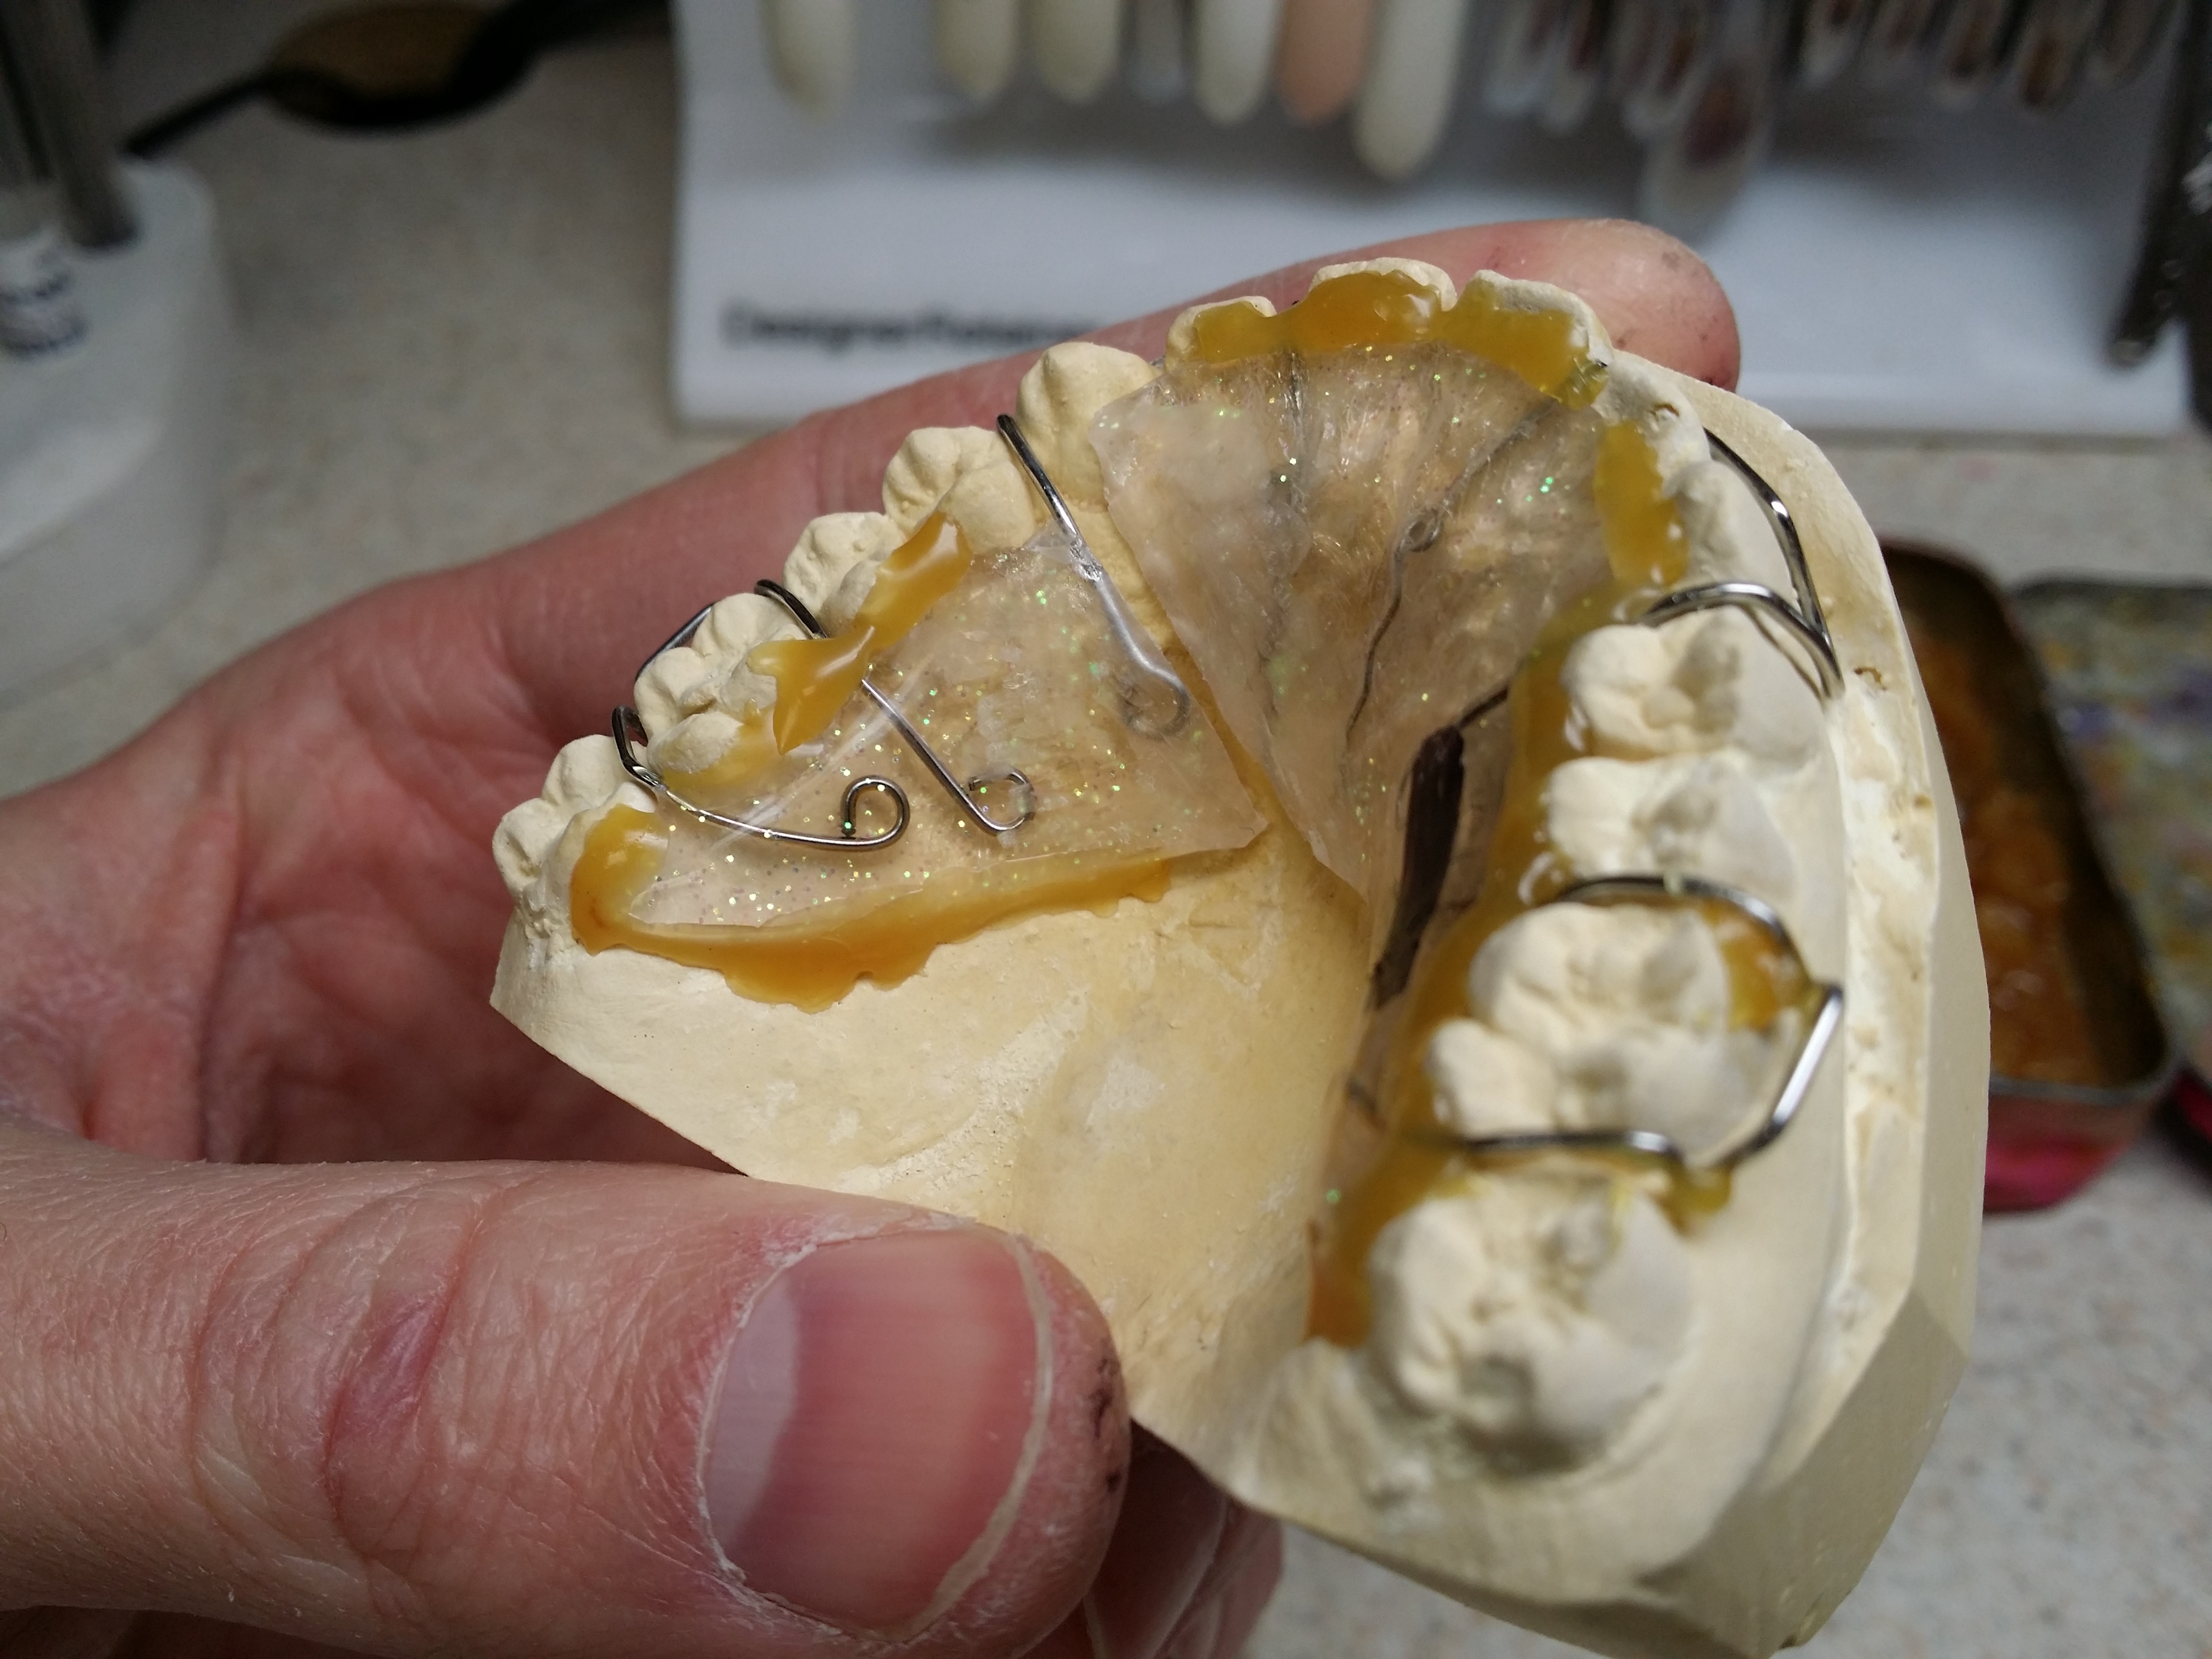
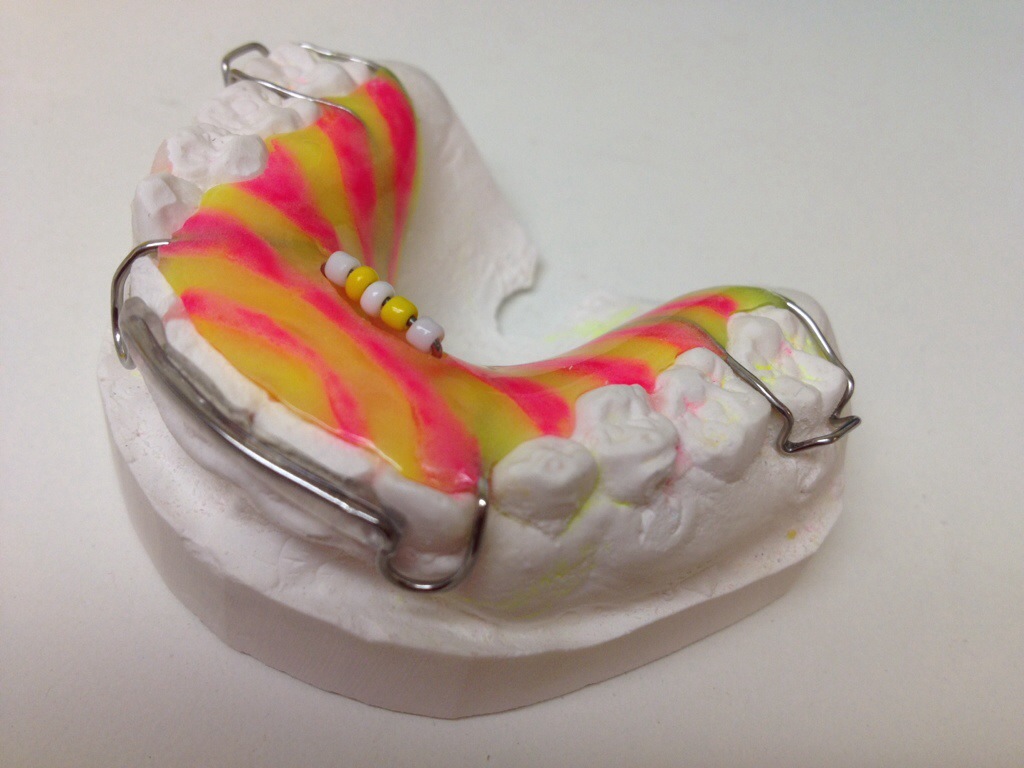
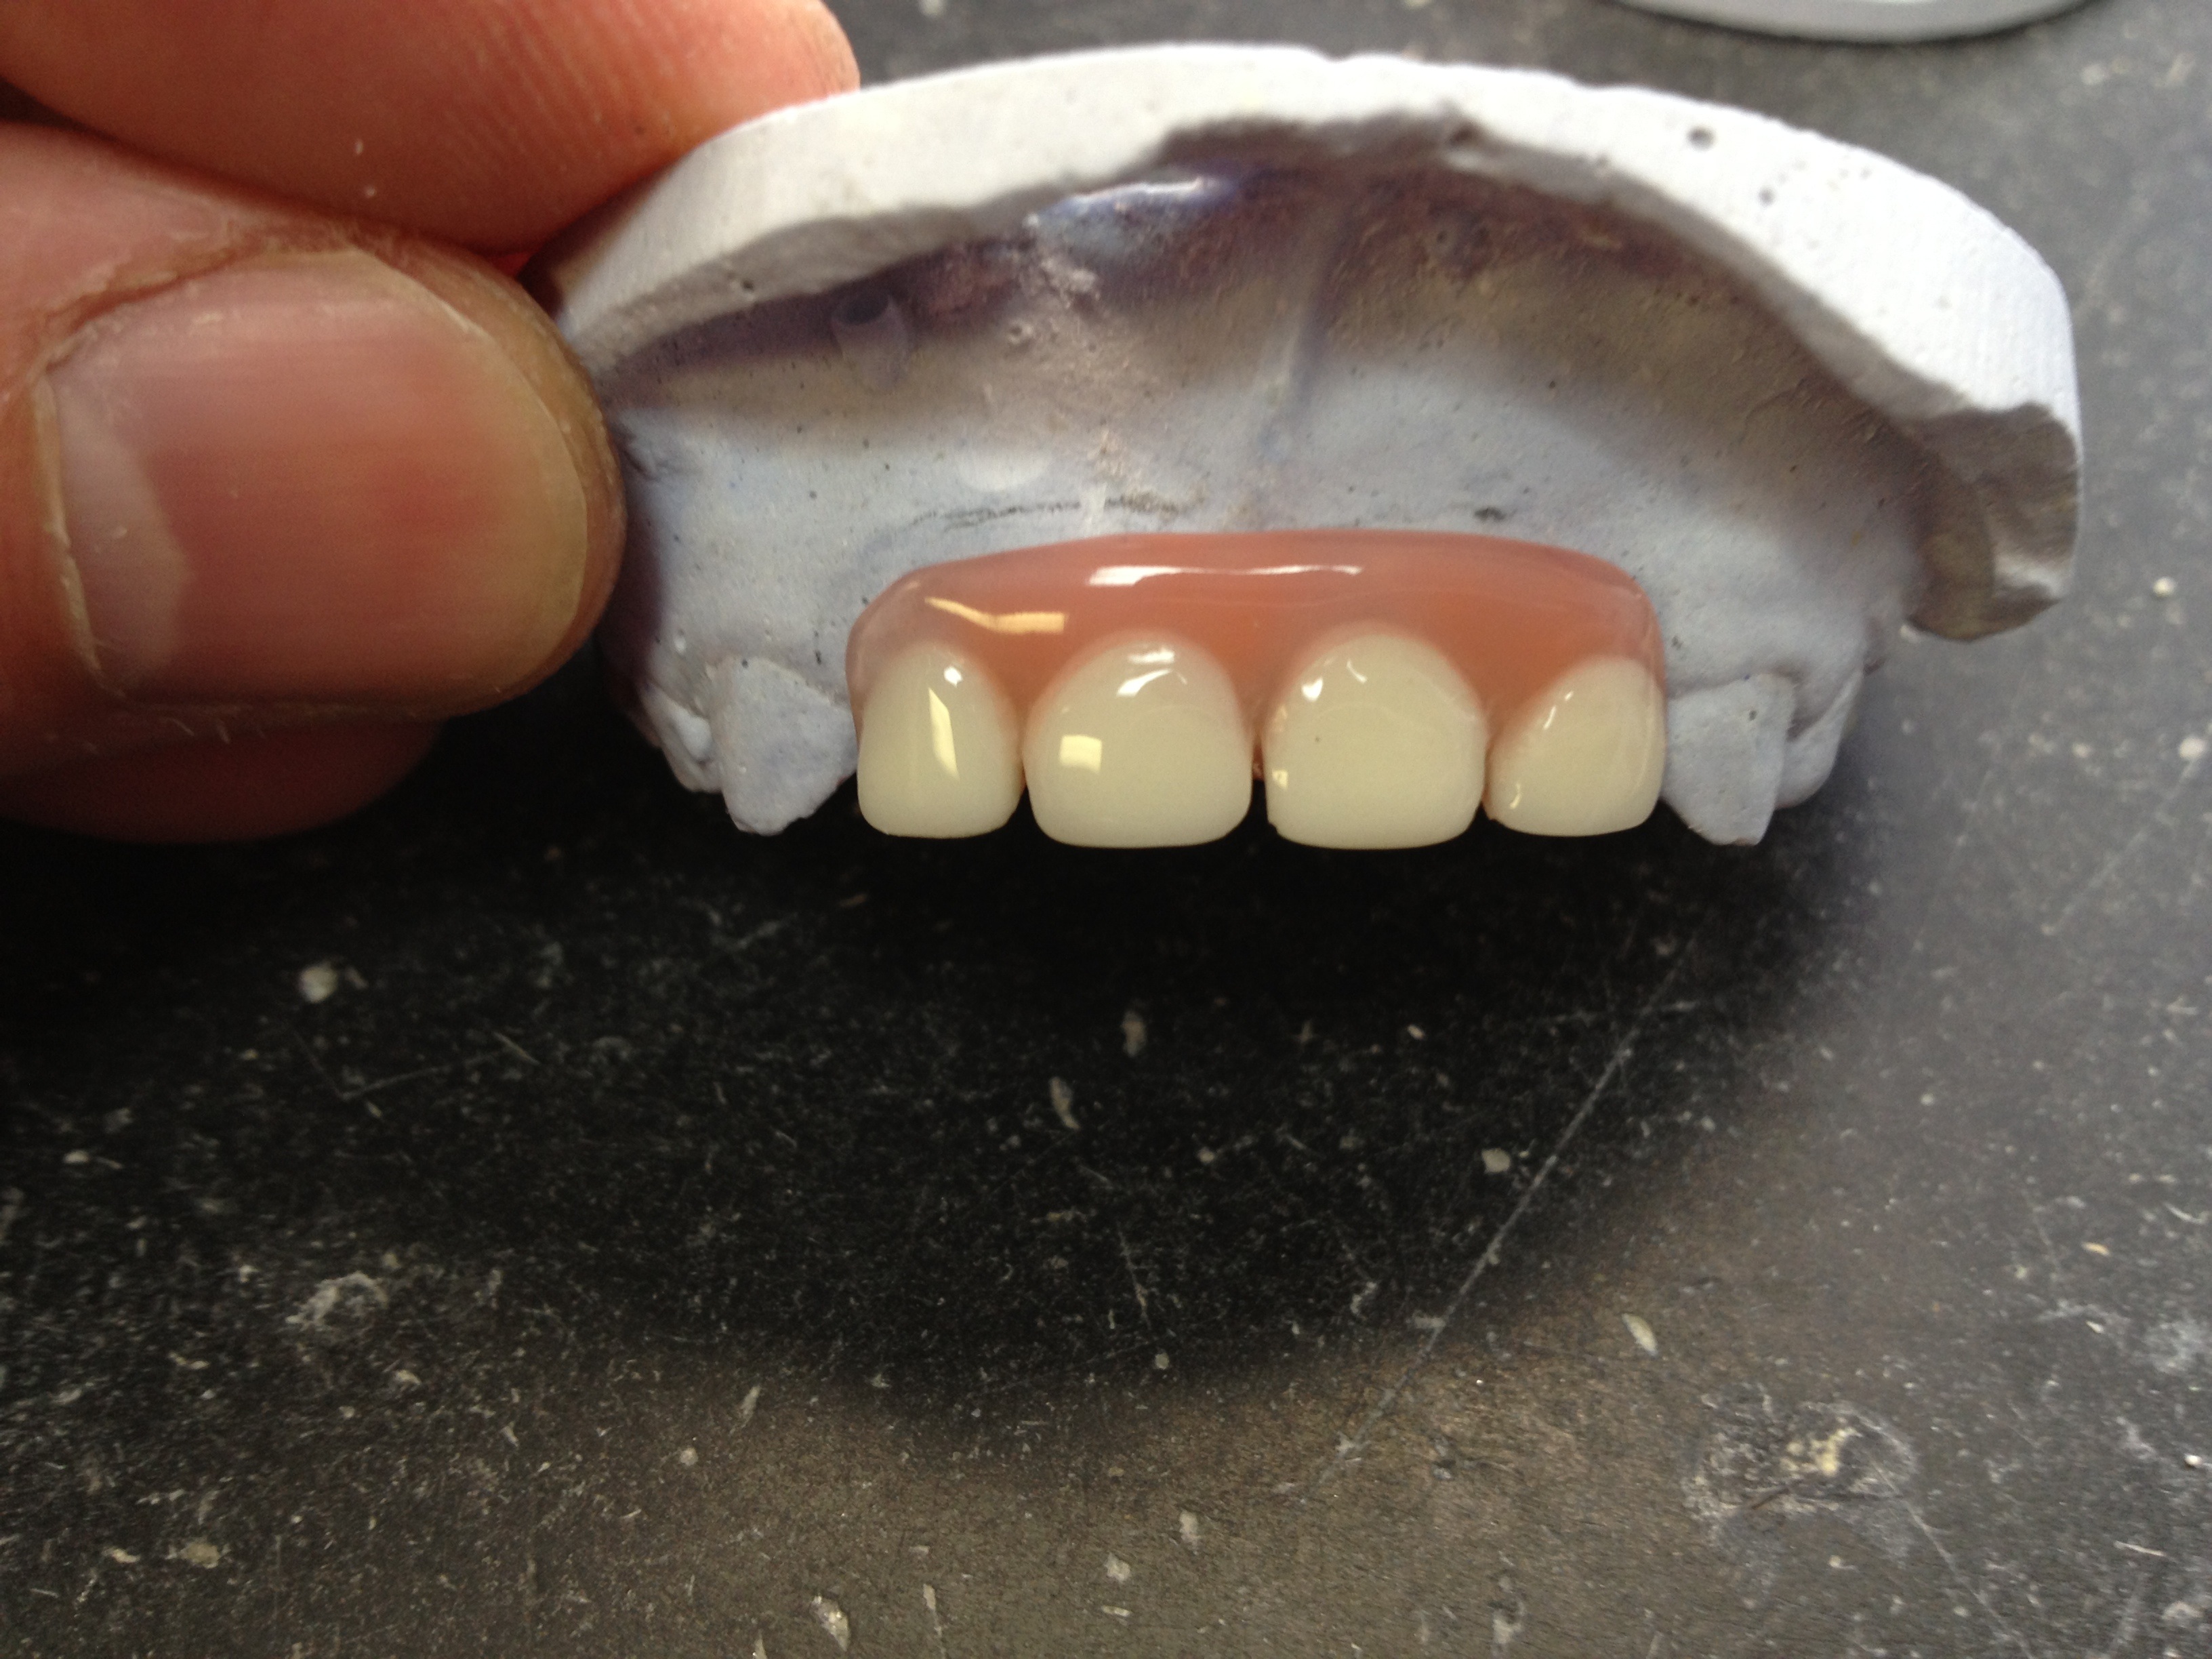
Here is a video of me repairing a retainer. This shows the simplest method. The other method involves stripping out all the wires out of the old acrylic and applying new acrylic.
Here is an overview of the steps:
- You just need to open up the crack in the acrylic about 1 mm with a bur and bevel the 2 acrylic edges.
- Scuff up the acrylic a little around the break area so that the new acrylic attaches and blend in better with the old acrylic.
- Put separator on the model
- Wax the retainer onto the model to keep it in place
- Salt and pepper new acrylic into the gap over fill the gap so that you can trim it flat later.
- Cure the acrylic
One hint put Vasaline on the tissue side of the retainer so that if any acrylic gets between the retainer an the model it won’t stick to the underside of the retainer.


3 thoughts on “Retainer Repair (Free Subscribers)”
The acrylic looks beautiful, every time i cook the acrylic i had air bubbles in the underside of the retainer, do you have any advice about that. thank you
It depends on a couple of things:
1. Make sure your pressure pot is not to hot that you are “boiling” the monomer I set my pressure pot at about 120 F and 20 lbs of air pressure.You might need to get a thermometer to put in the pressure pot to make sure it doesn’t get too hot.
2. You might be getting air from you case escaping into your acrylic while it is still wet.
– are you submerging your model into the water in your pressure pot? If you are you need to soak the model first. To soak mine, after I put separator and sticky wax the wires on the dry model I place only the base of the model into about 1 cm of water and let the water soak up the water through the bottom via capillary action this will push the air out as it fills up with water. then once the model is done soaking up the water I apply acrylic.
– Are you using the steam method? This means your model does not touch the water in the bottom of the pressure pot. I have a stand that came with my pressure pot I make sure the water is below this stand. I place my dry models on that stand and cure. This is the way I do it because we usually don’t have time to wait on the model to soak in the water before acrylic application.
– so in essence make sure if you use the steam method and a dry model that the model doesn’t touch enough water to cause it to suck up water from the bottom and release air throughout the top and through the acrylic.
3. Make your you are not losing air pressure during the curing process. The better your pressure pot can keep a constant 20 lbs of pressure the better and stronger you acrylic will be.
thank you 🙂