
Sometimes a doctor will ask you to add a spring to an existing retainer. Here is one way to do it.
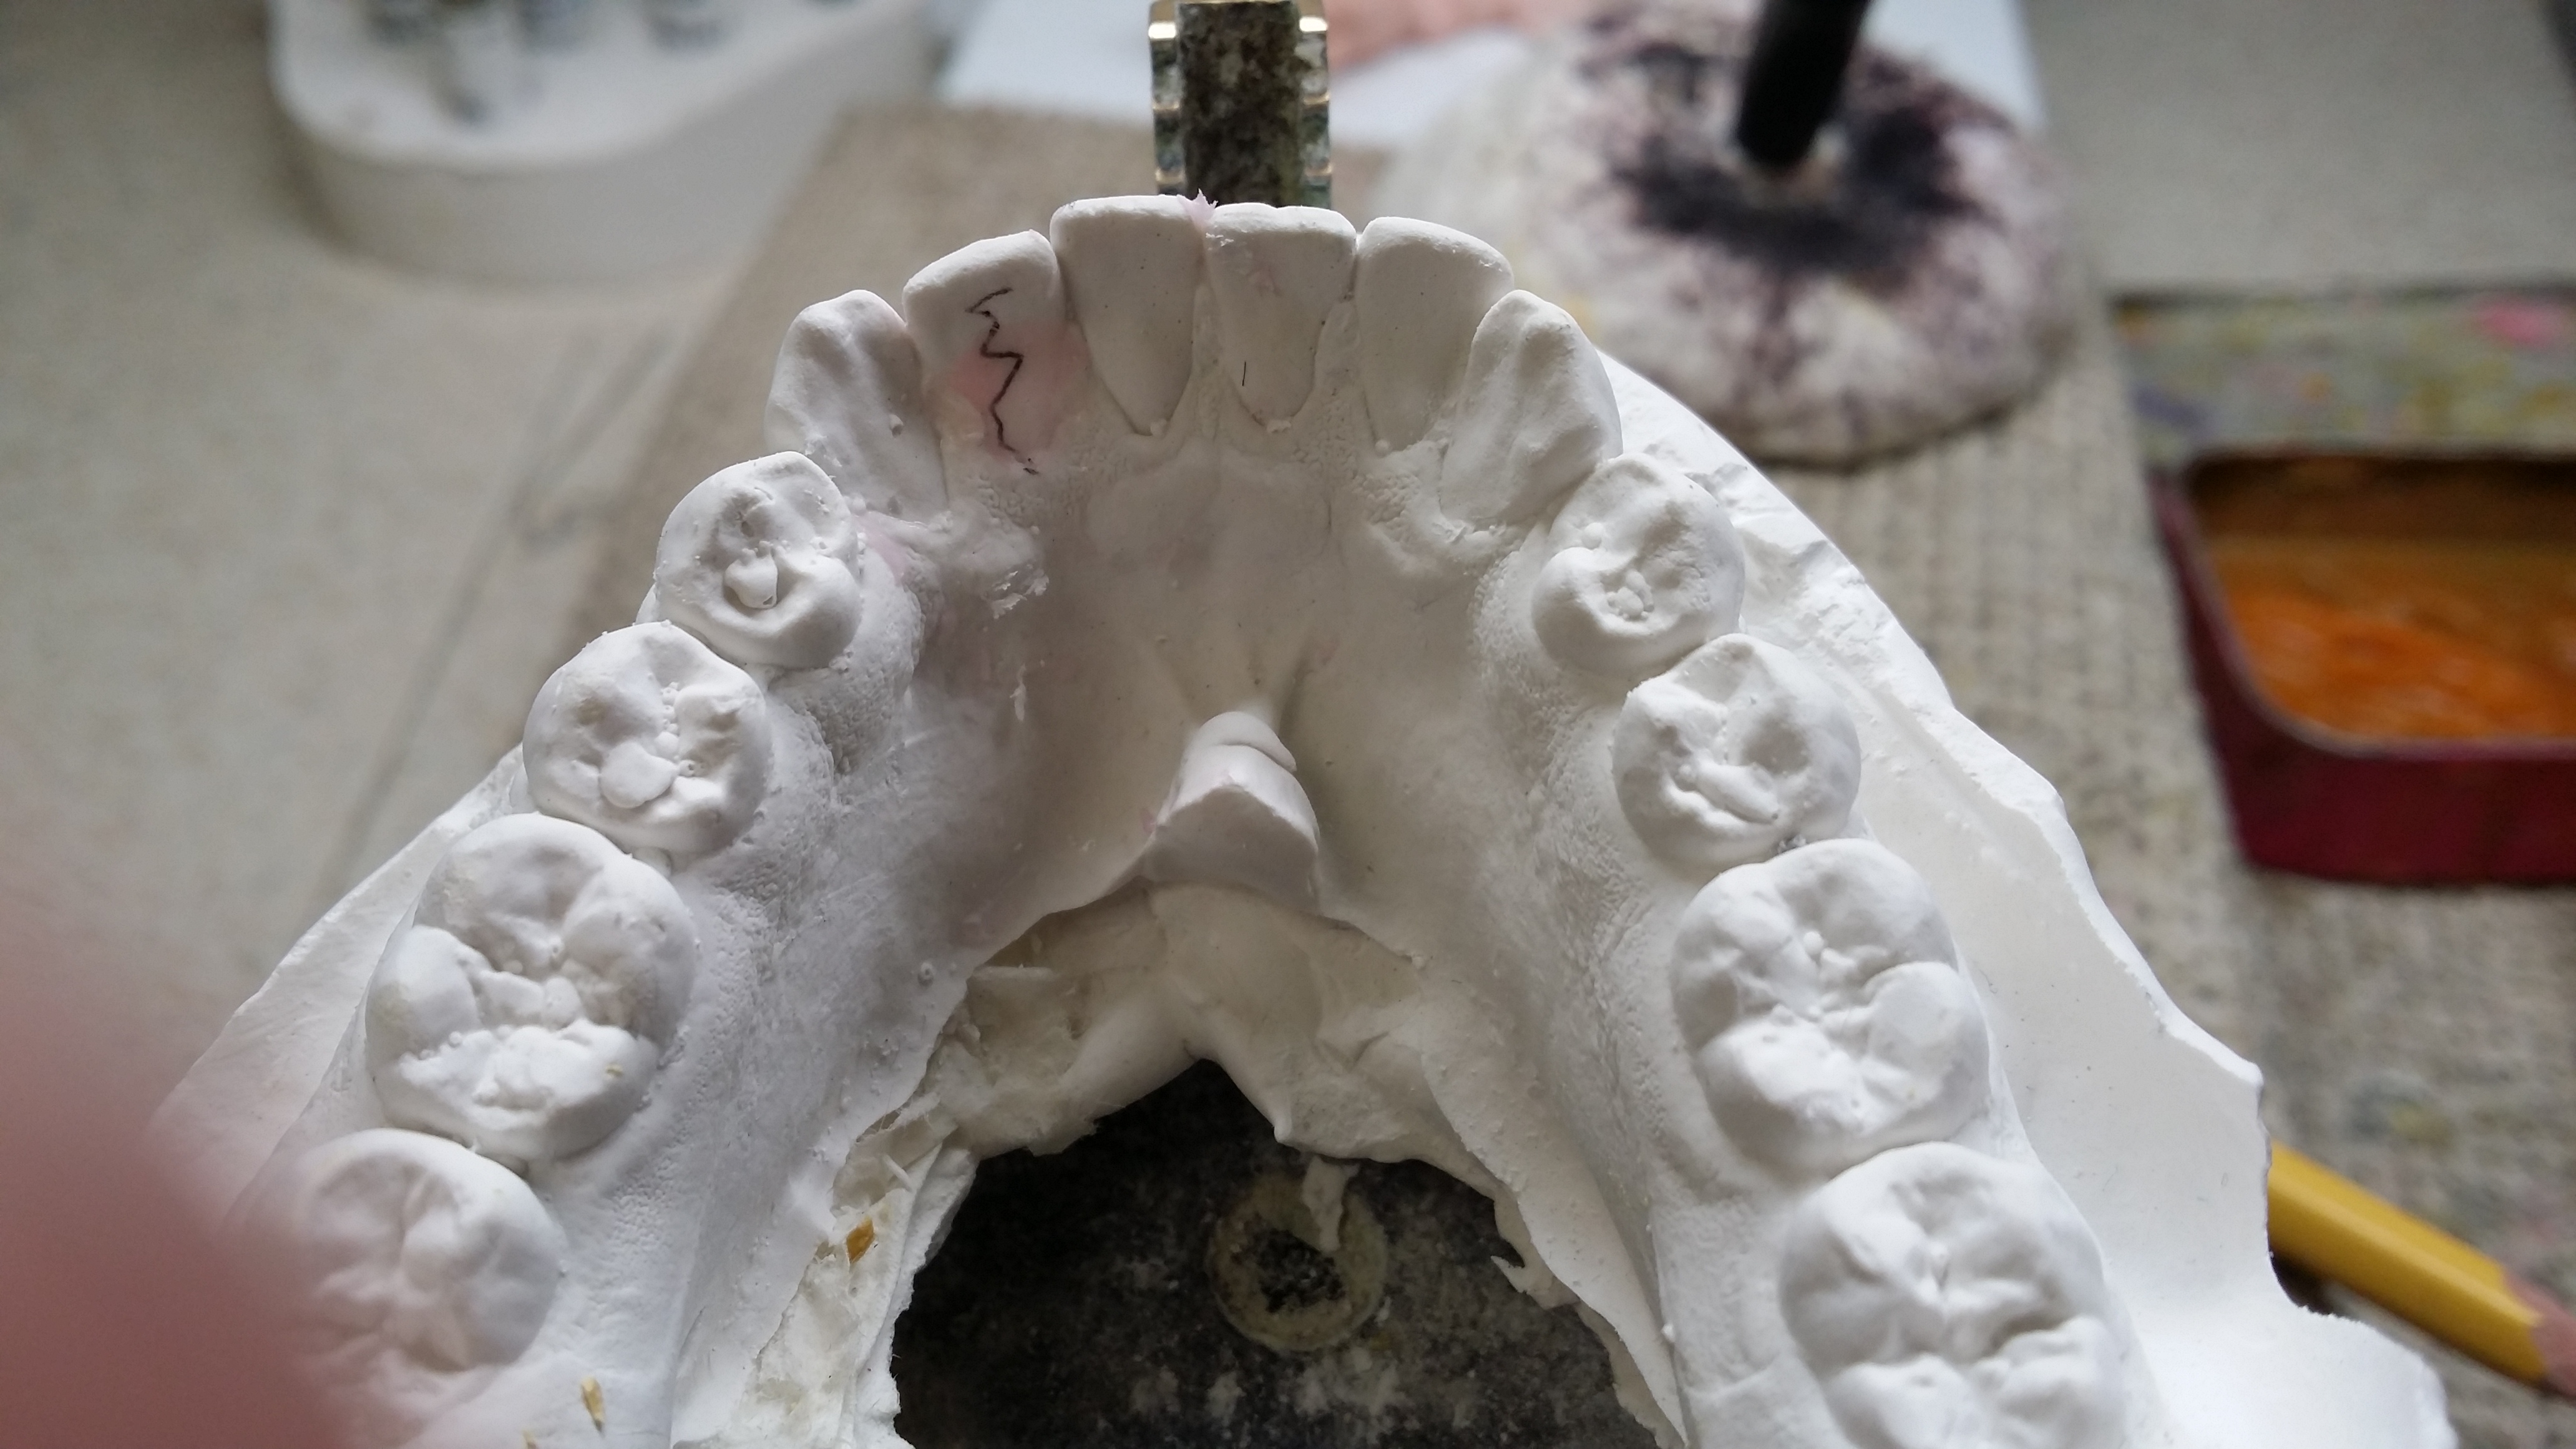
Note: This method depends on the fact that the retainer fits the model very well. If the patient did not wear his/her retainer then you might have a model that the retainer no longer fits on. In that case you will need to strip all the acrylic off and start over with new acrylic.Prep the cast by removing any bubbles or artifacts that would hinder the retainer from seating all the way.

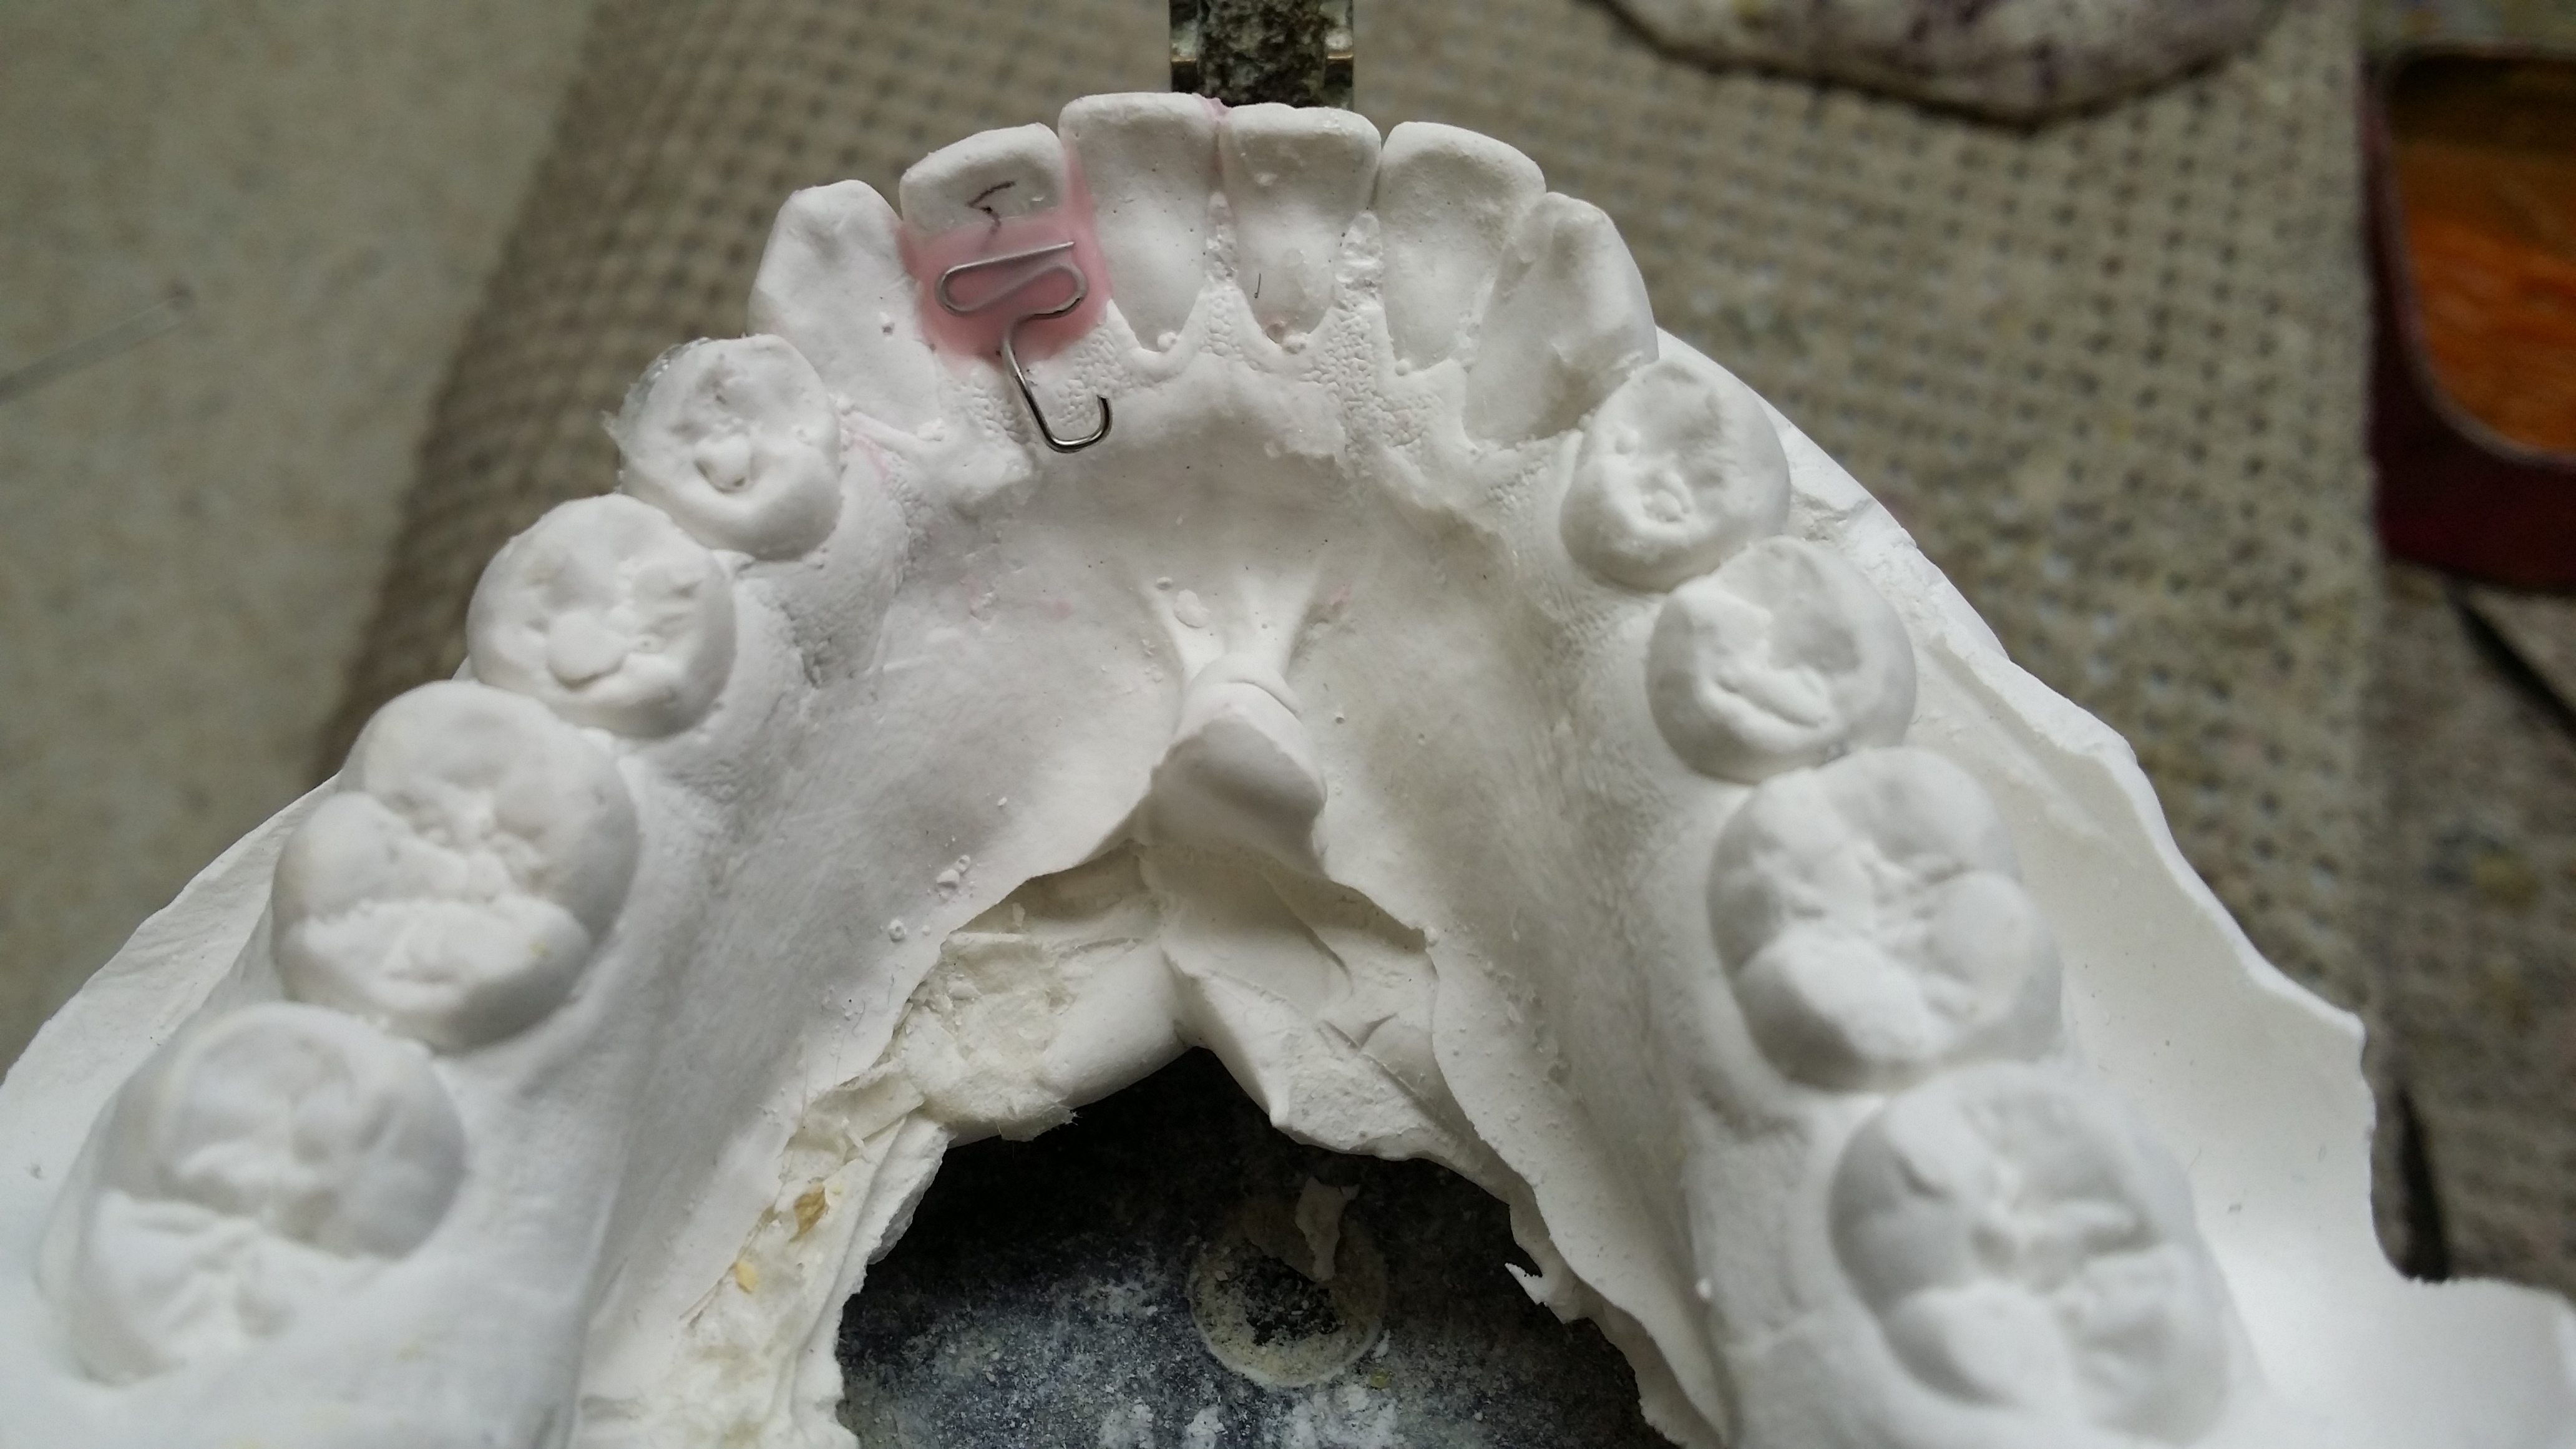
Mark Where you want your spring and cover marking with a thin layer of pink baseplate wax. Apply your separator at this point
Adjust wire if needed to fit the retainer on the model.
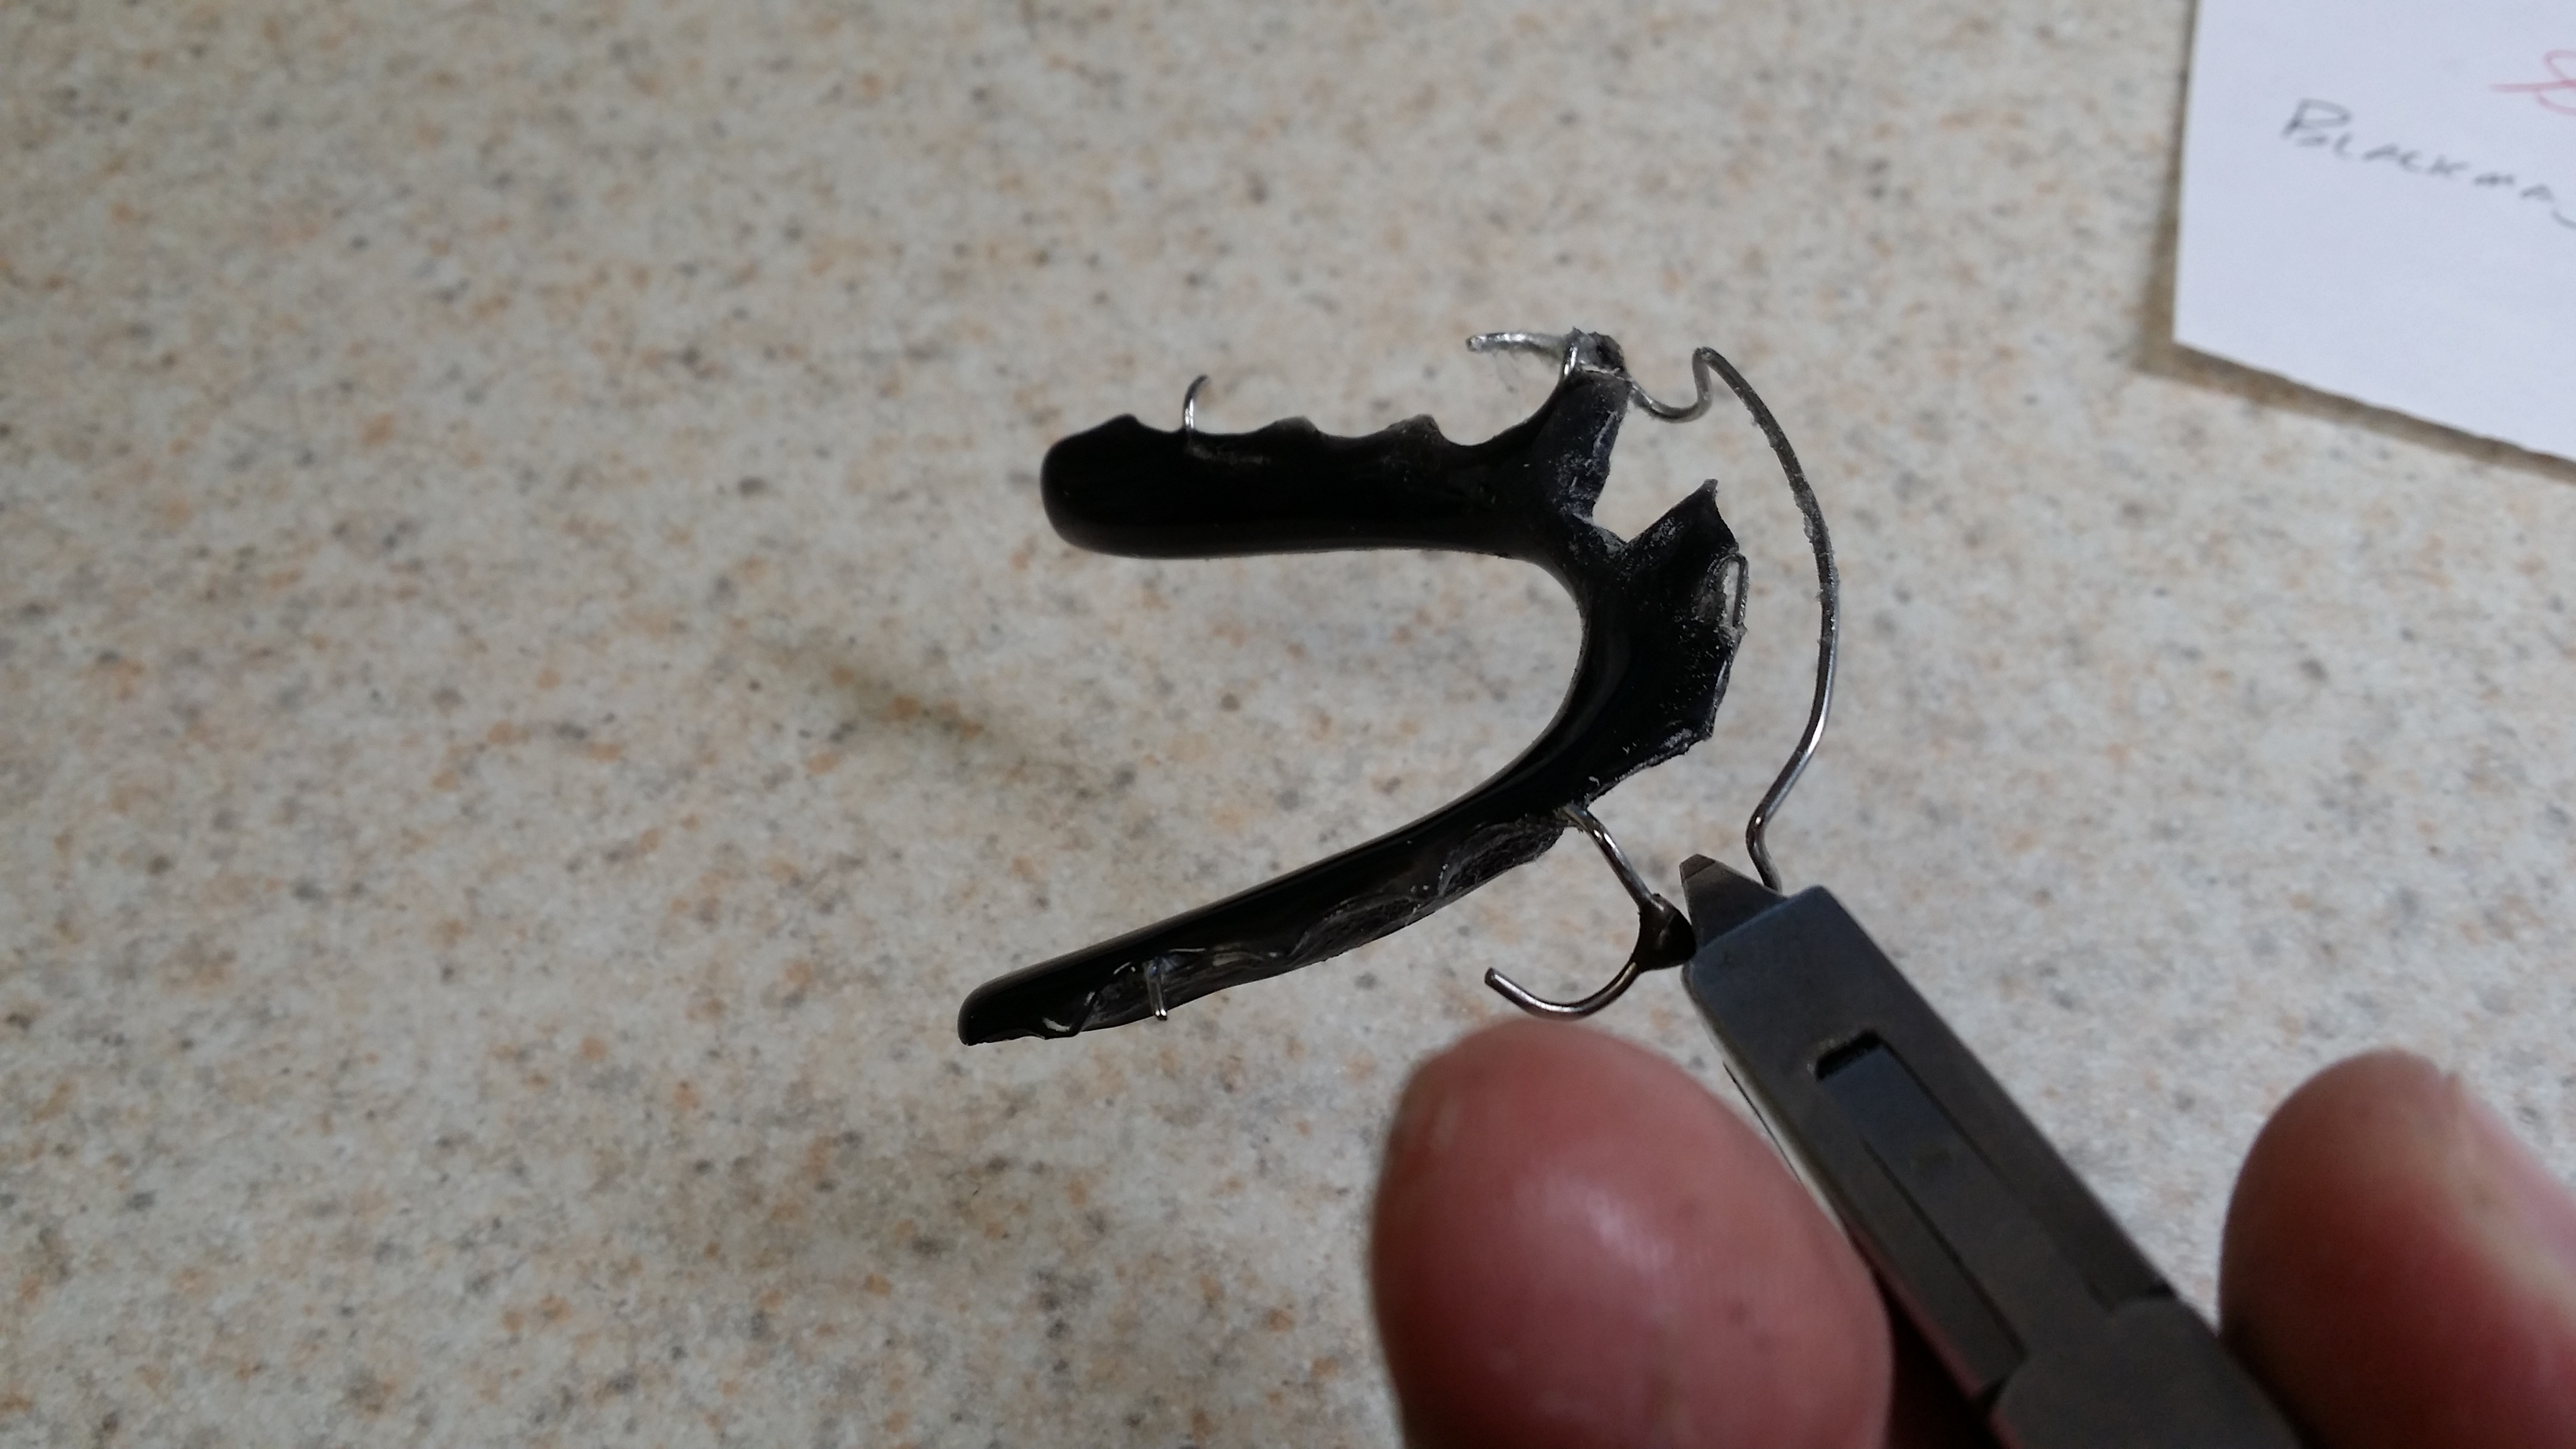
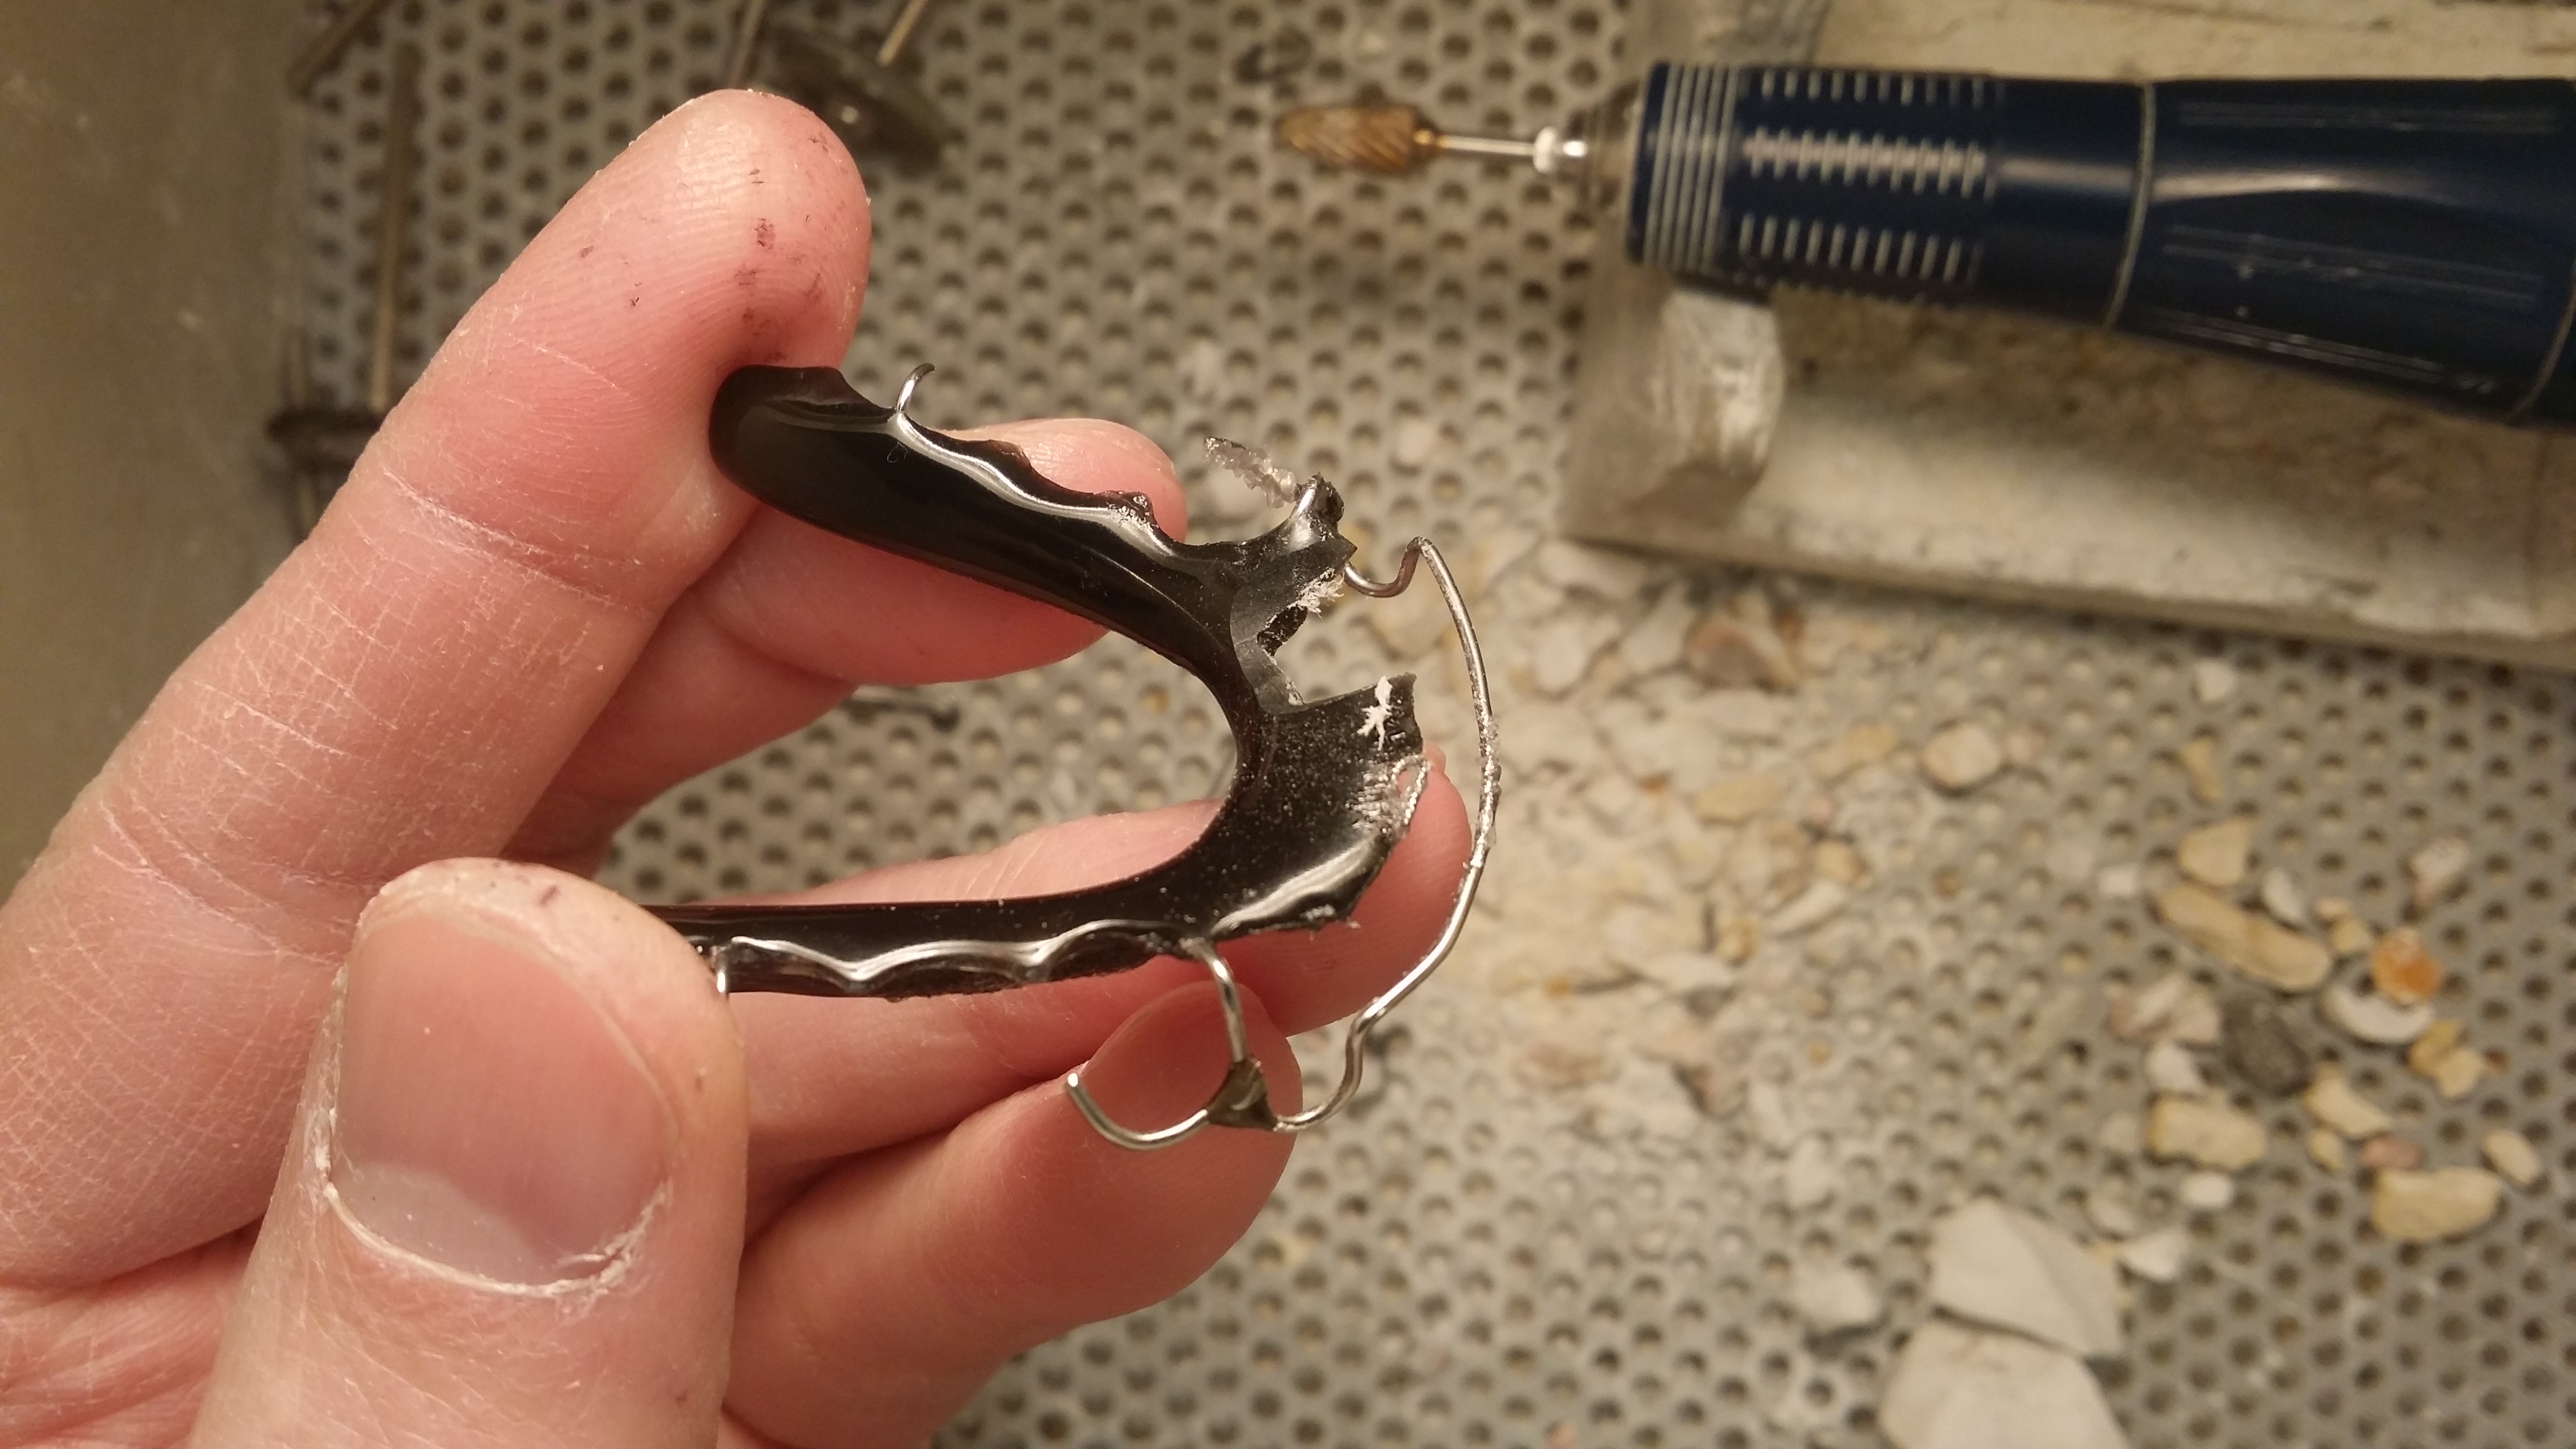
Using a cutting burr, remove a square of acrylic from the retainer where the spring is going to go.
Bevel the edges of the square hole, this allows the new acrylic to stick better with out any delineation between the new and old acrylic.
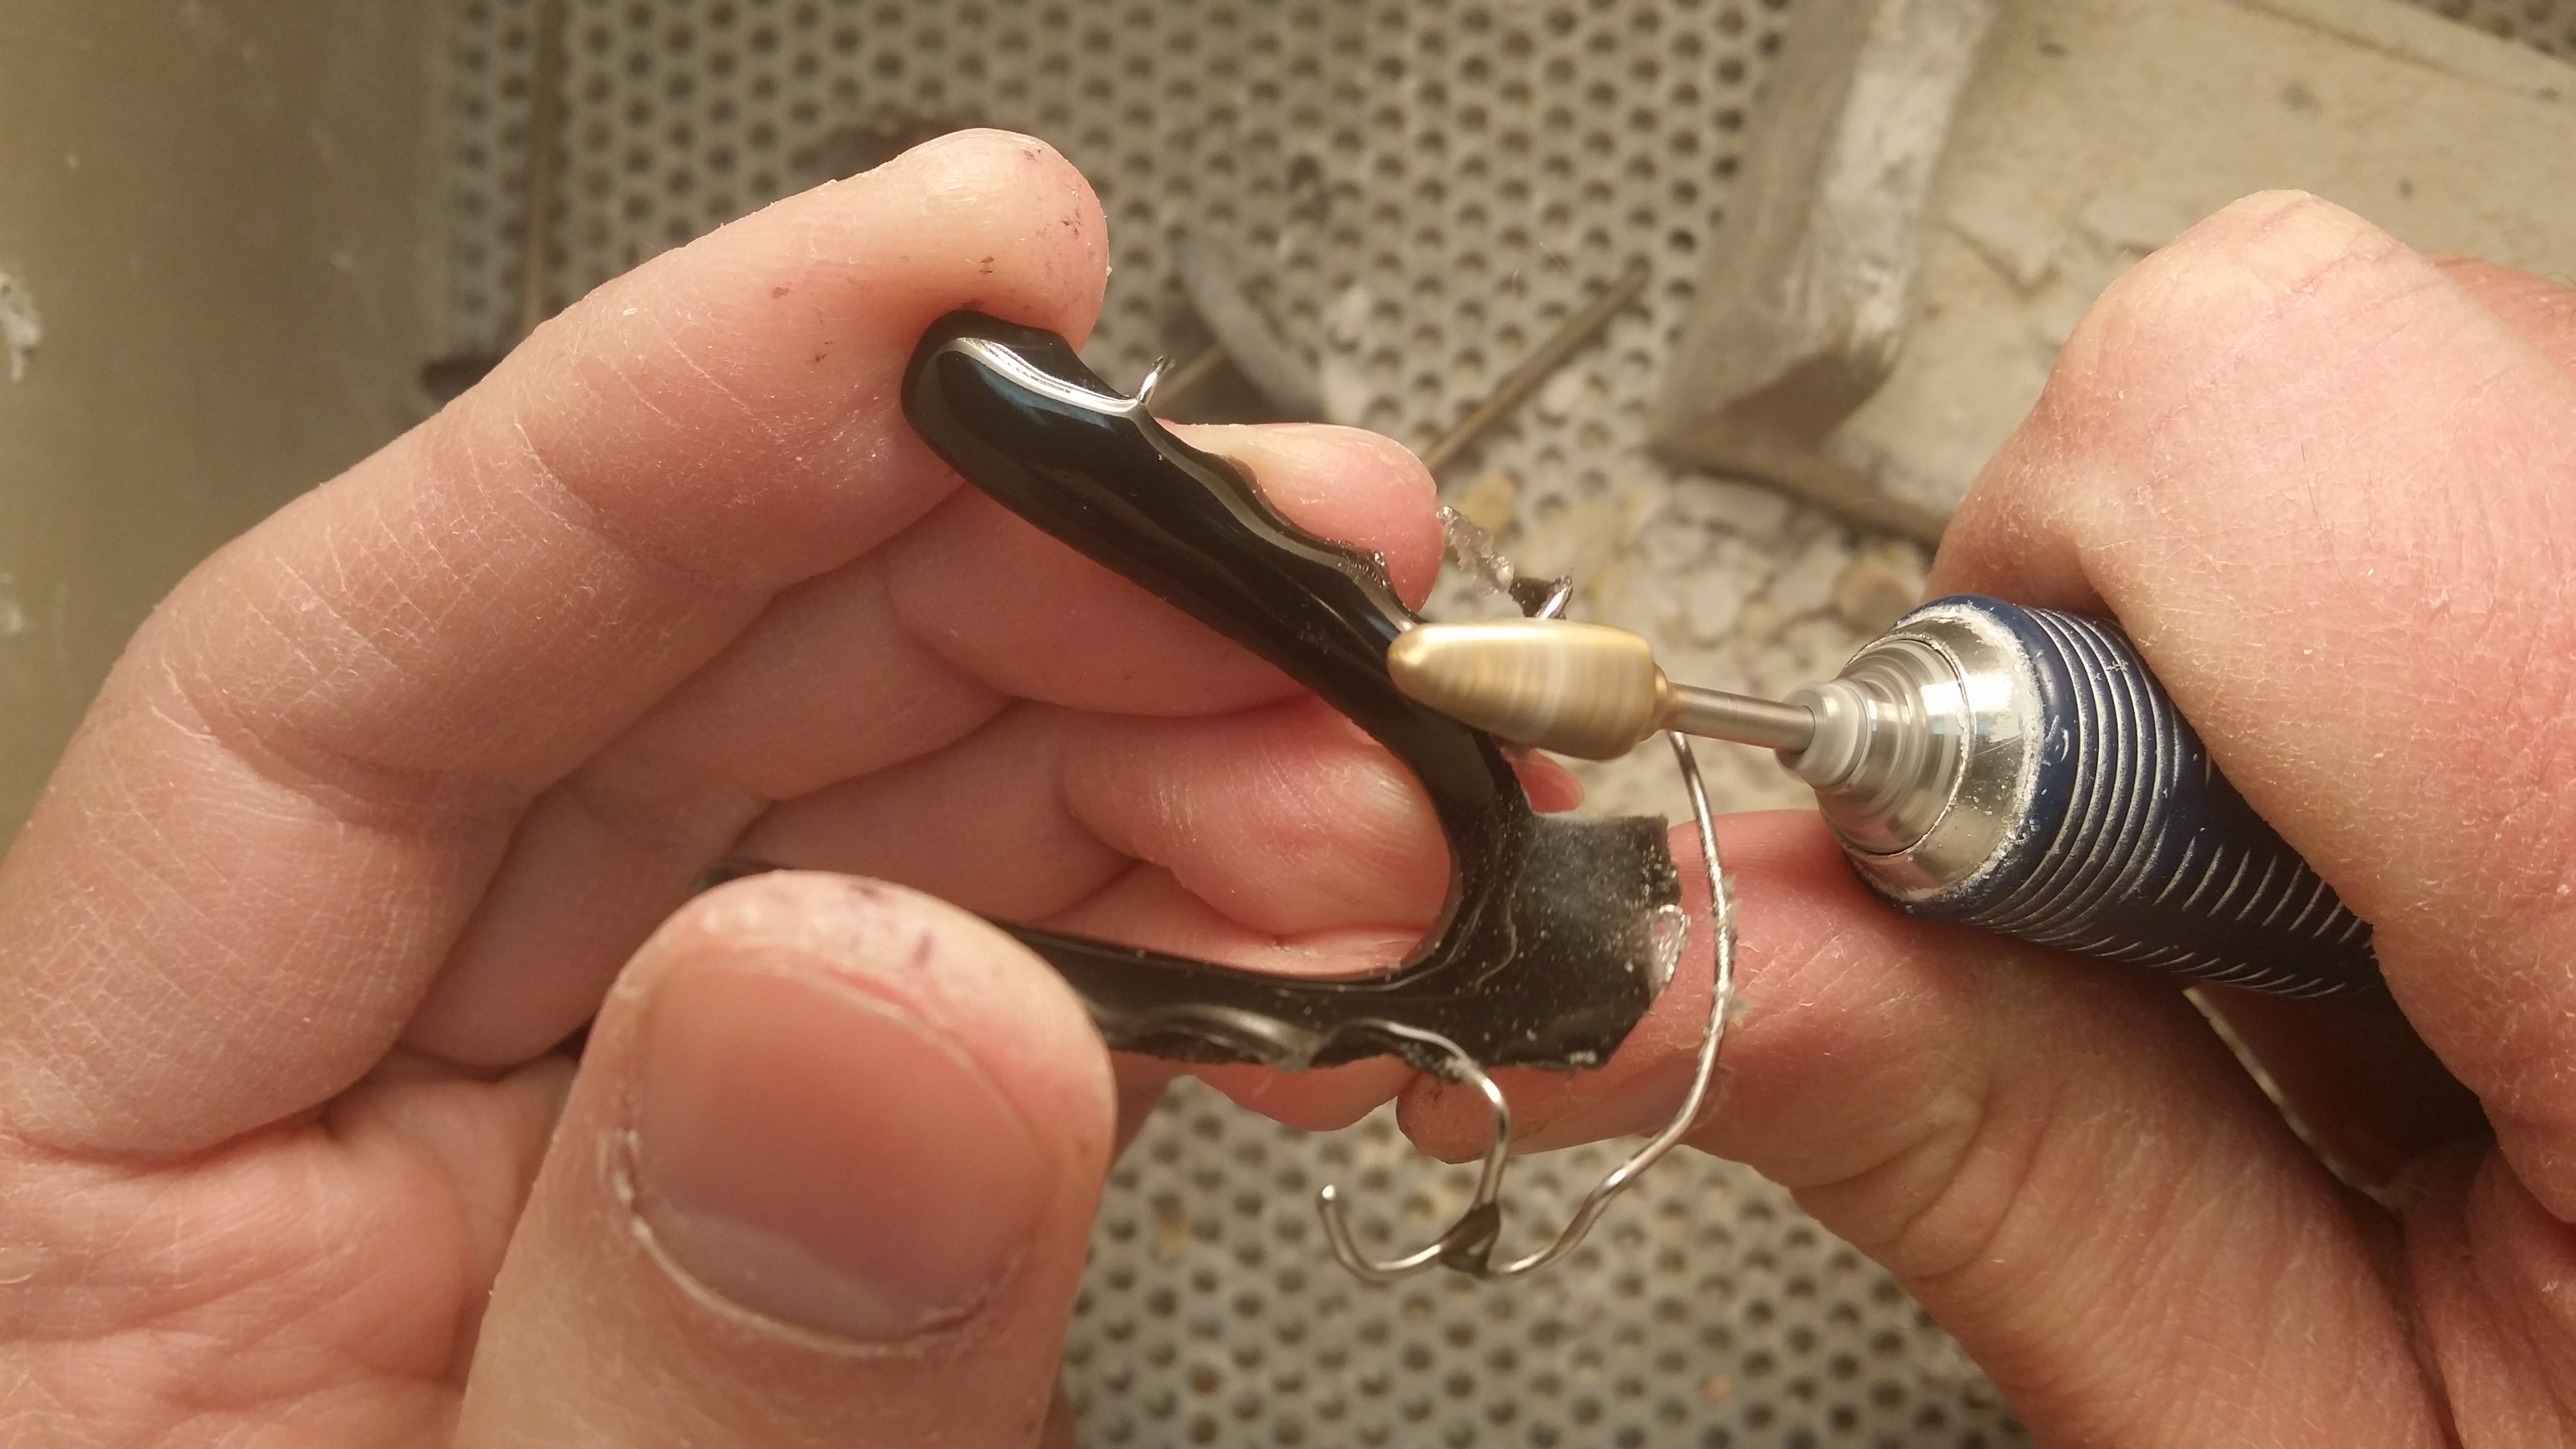
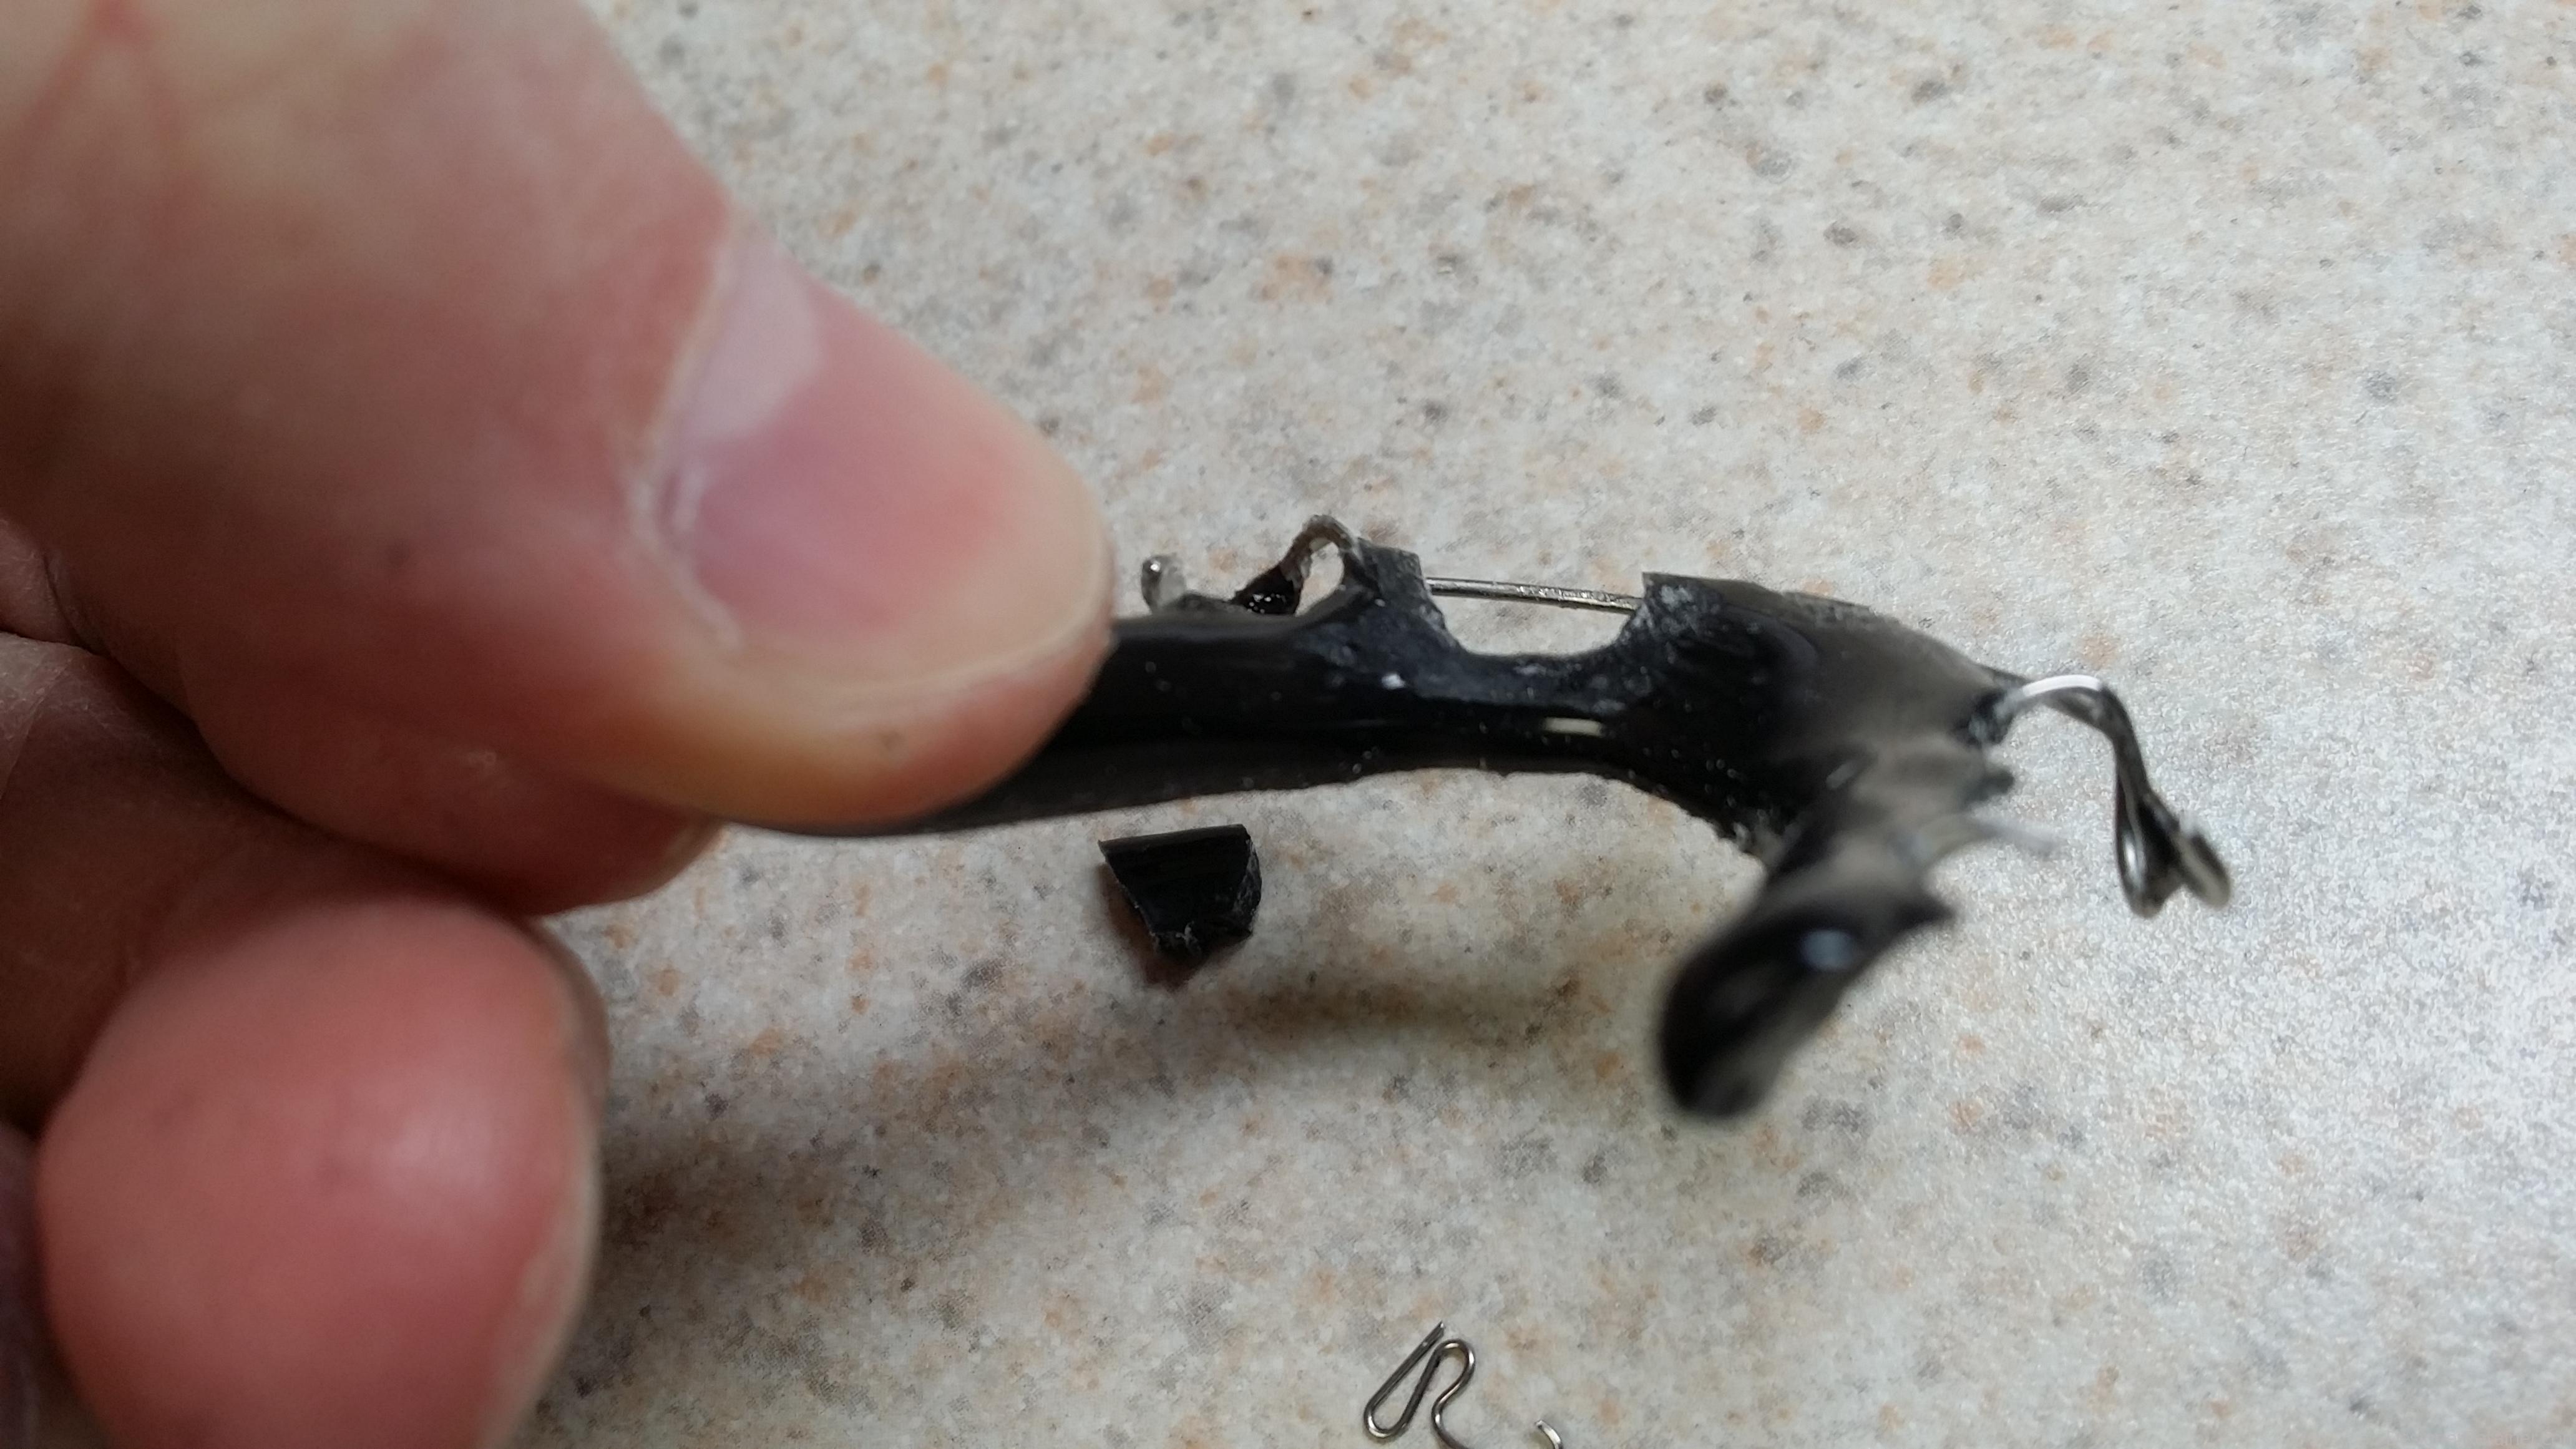
A view of the beveled edges
Another view of the beveled edges.
Bend finger spring to fit hole you just cut out, Make sure you made enough room for the acrylic anchor on the finger spring
Wax finger spring into place with pick baseplate wax, keep in mind the boarders of you acrylic hole on the retainer
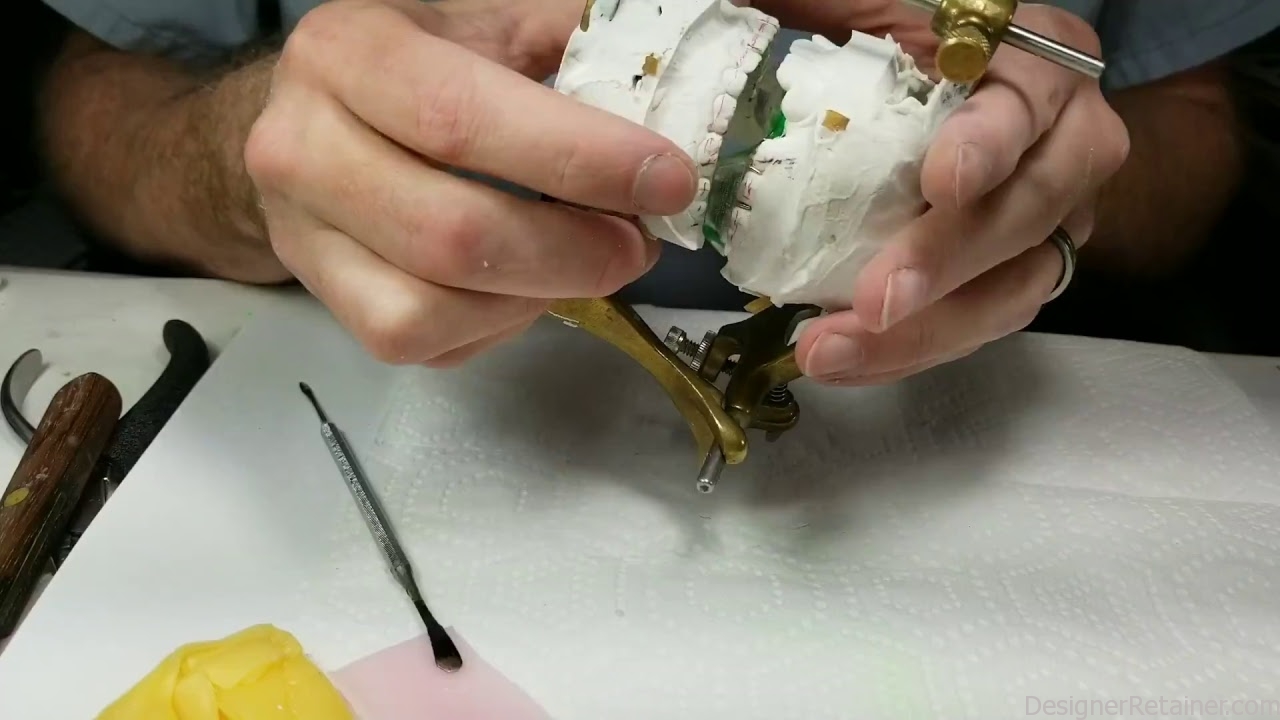
Test fit retainer into place to check for clearance of the spring
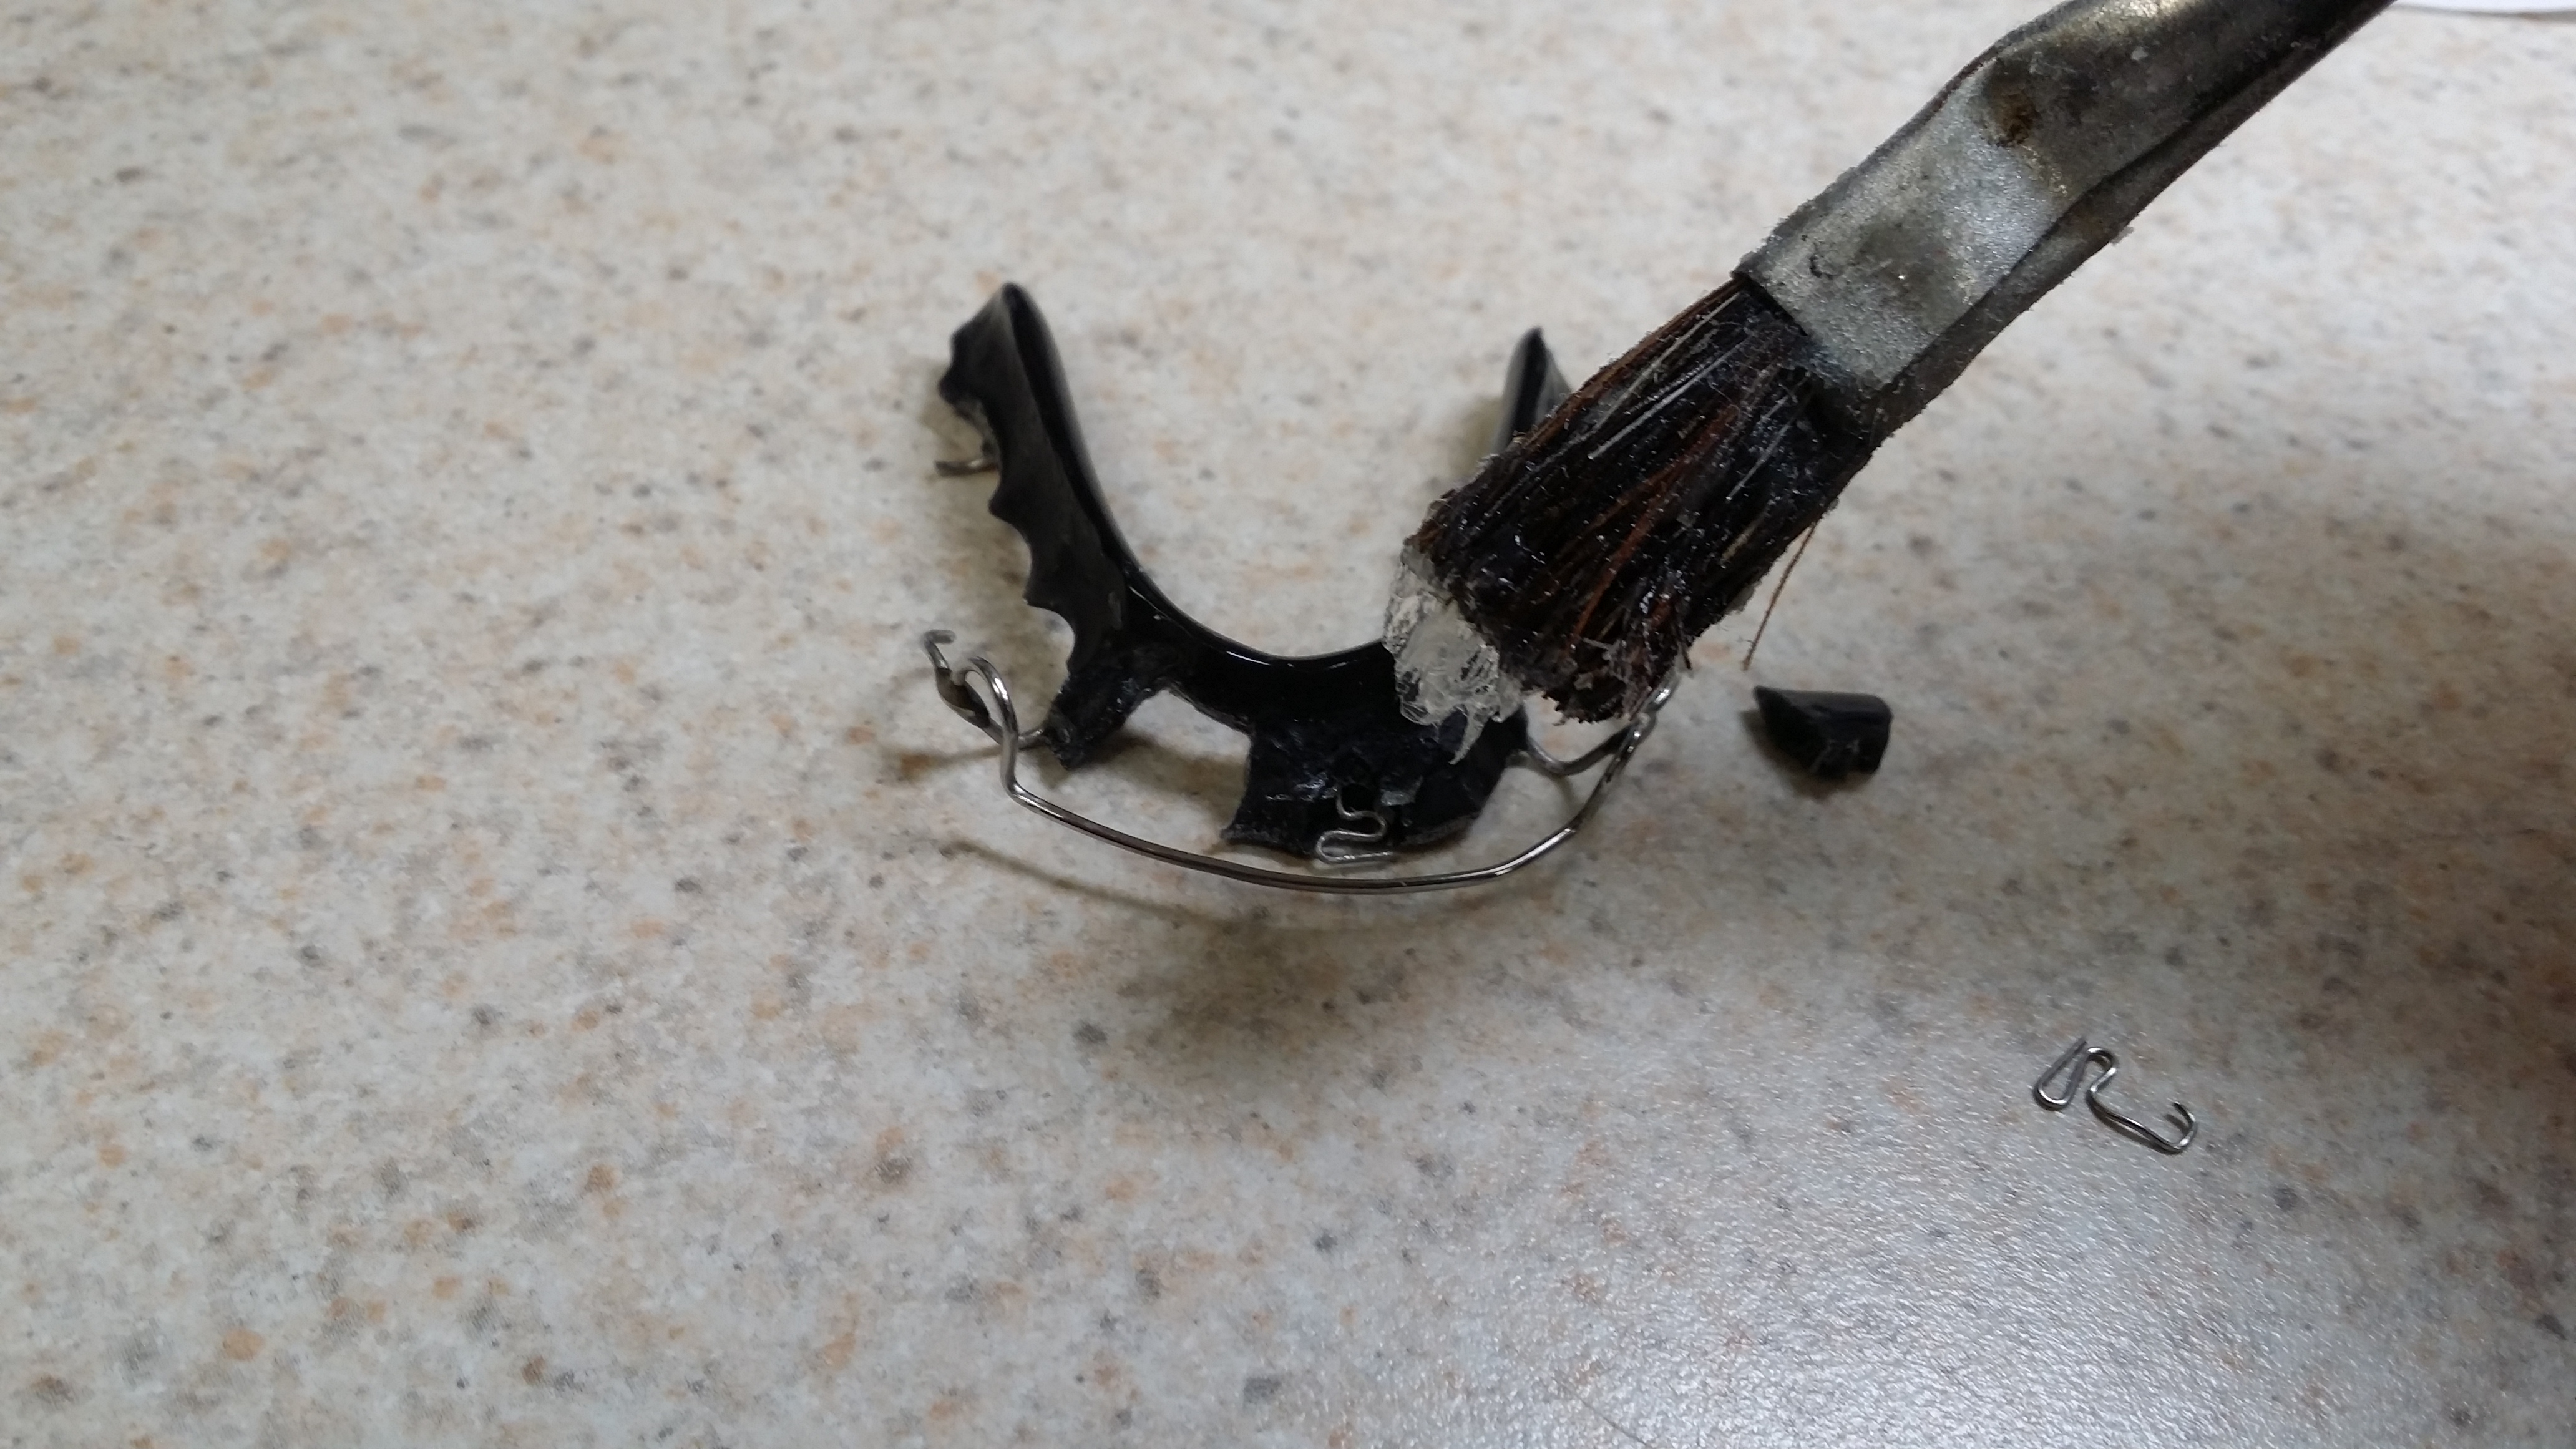
Apply Petroleum Jelly to the underside (tissue side) of the retainer, being careful not to get it on the beveled edges.
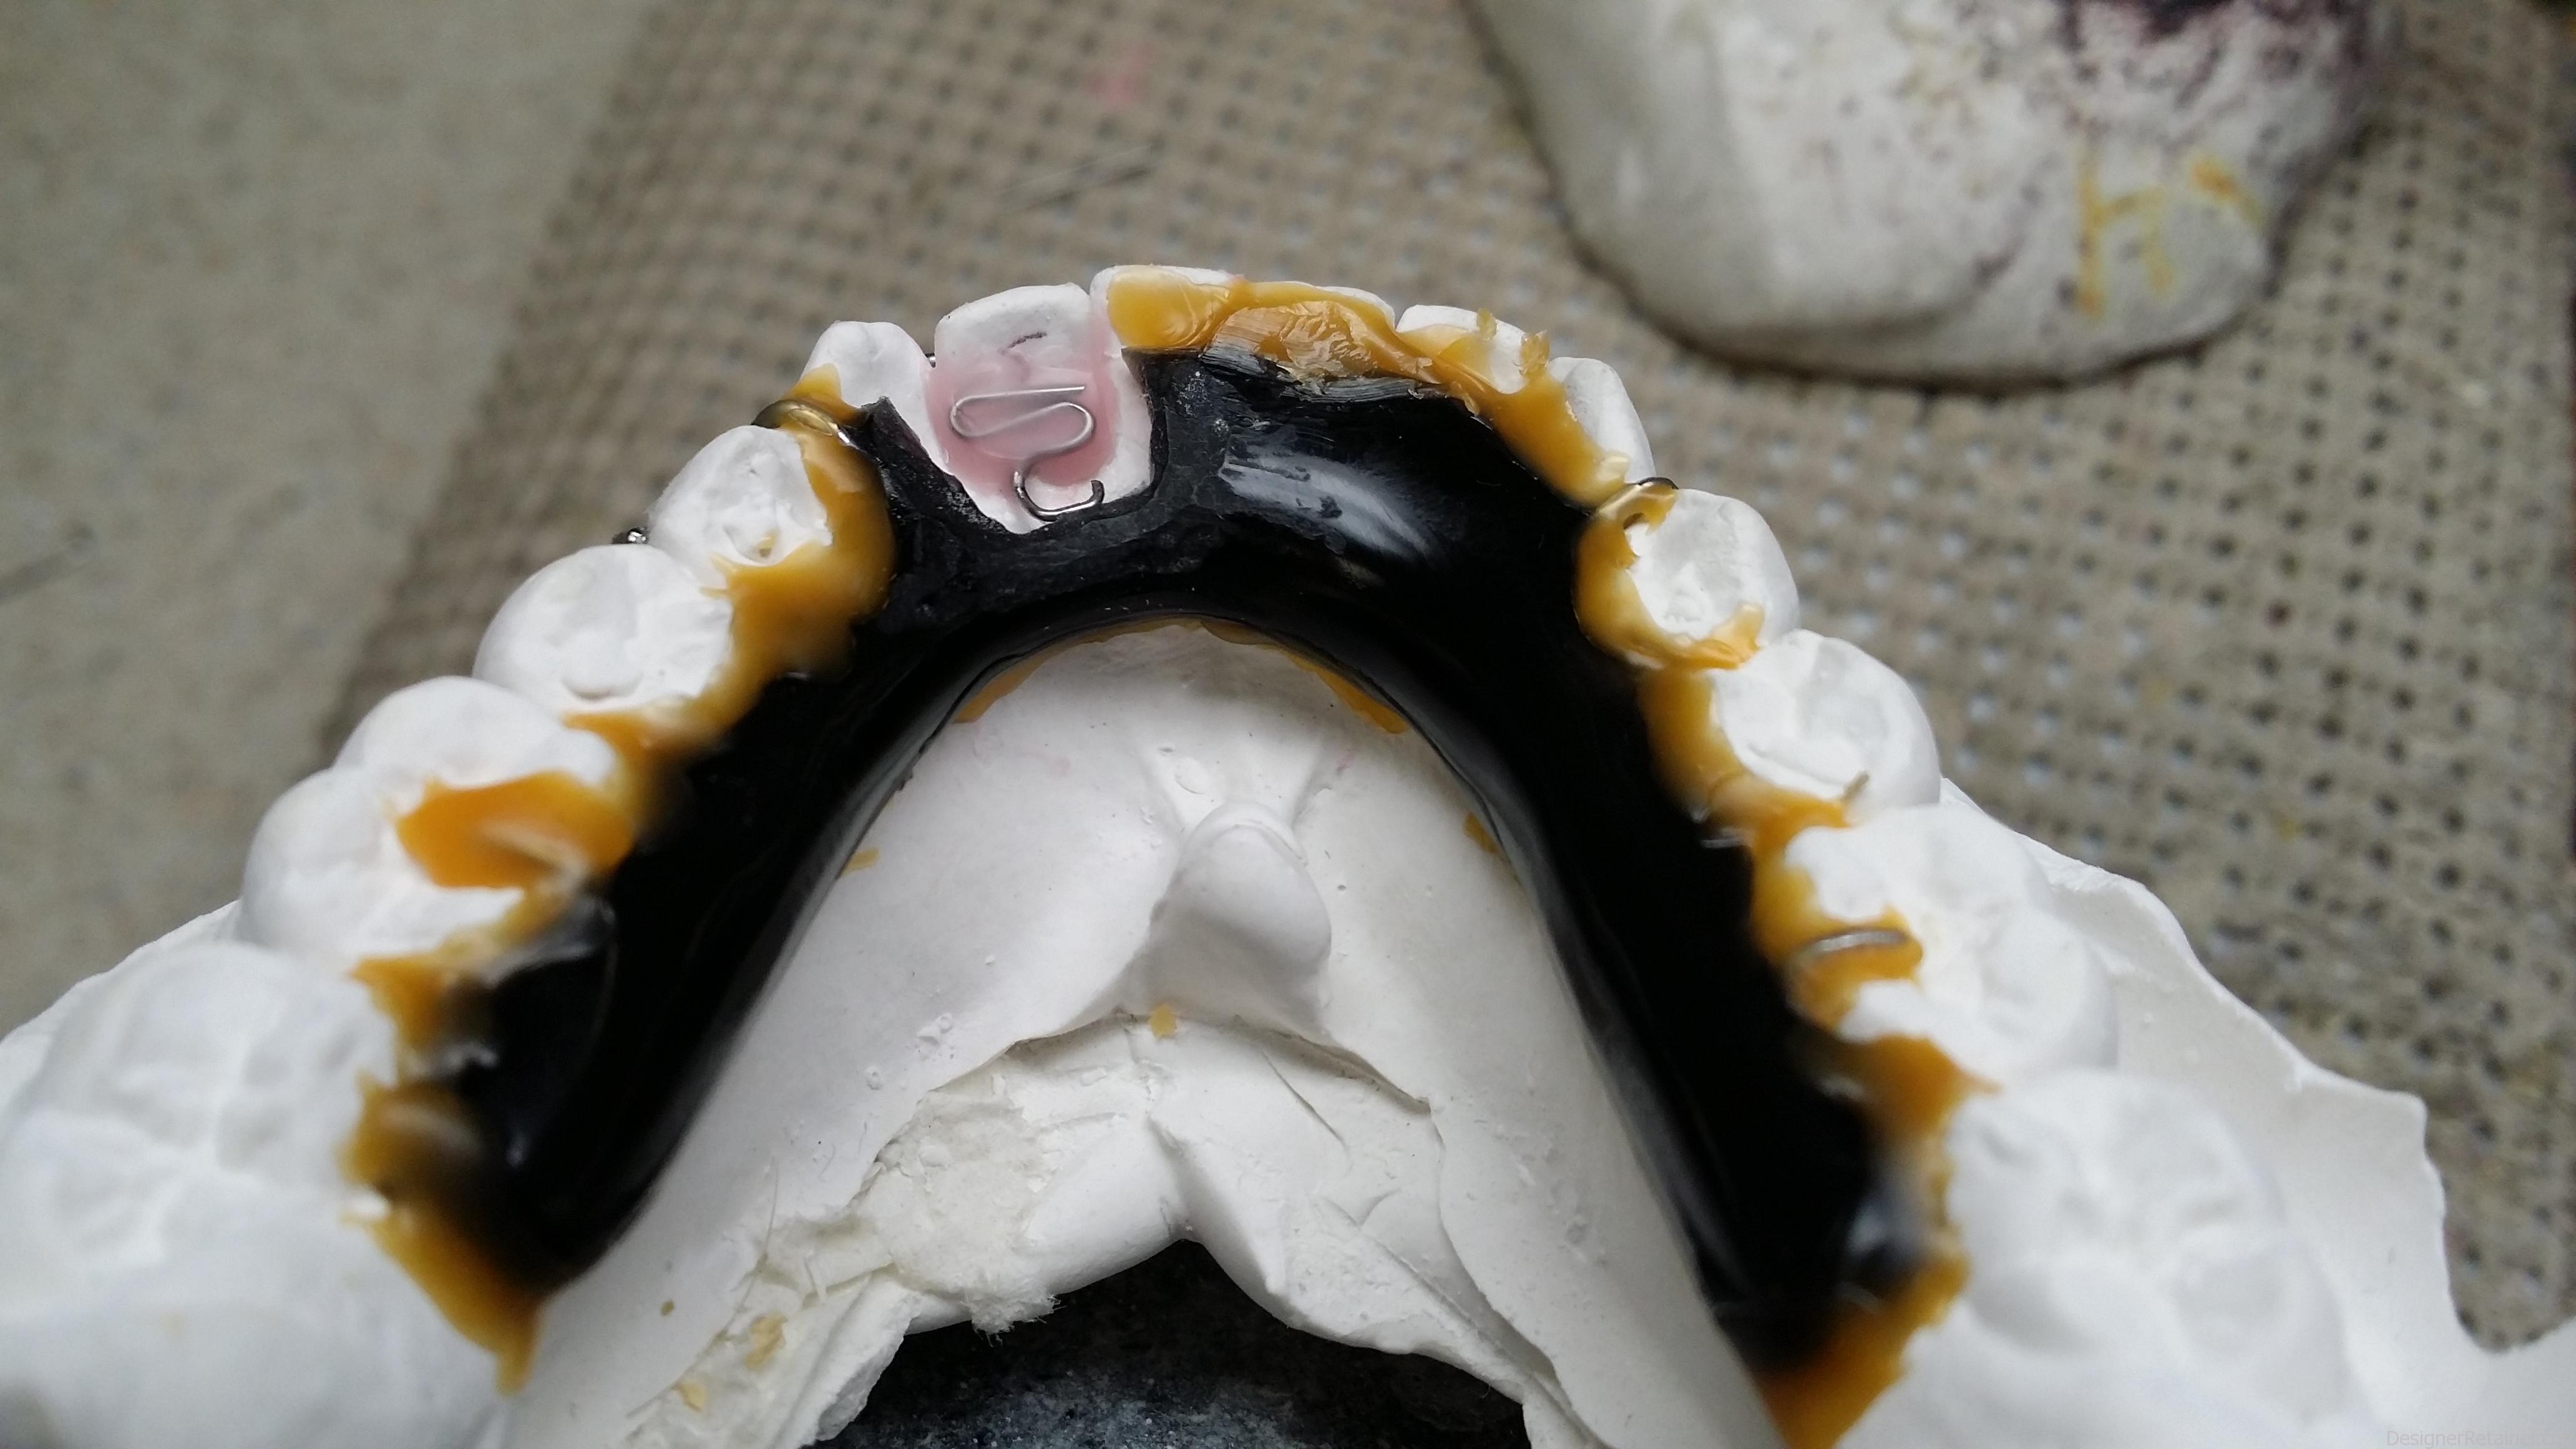
Wax retainer to Model using generous amounts of sticky wax.
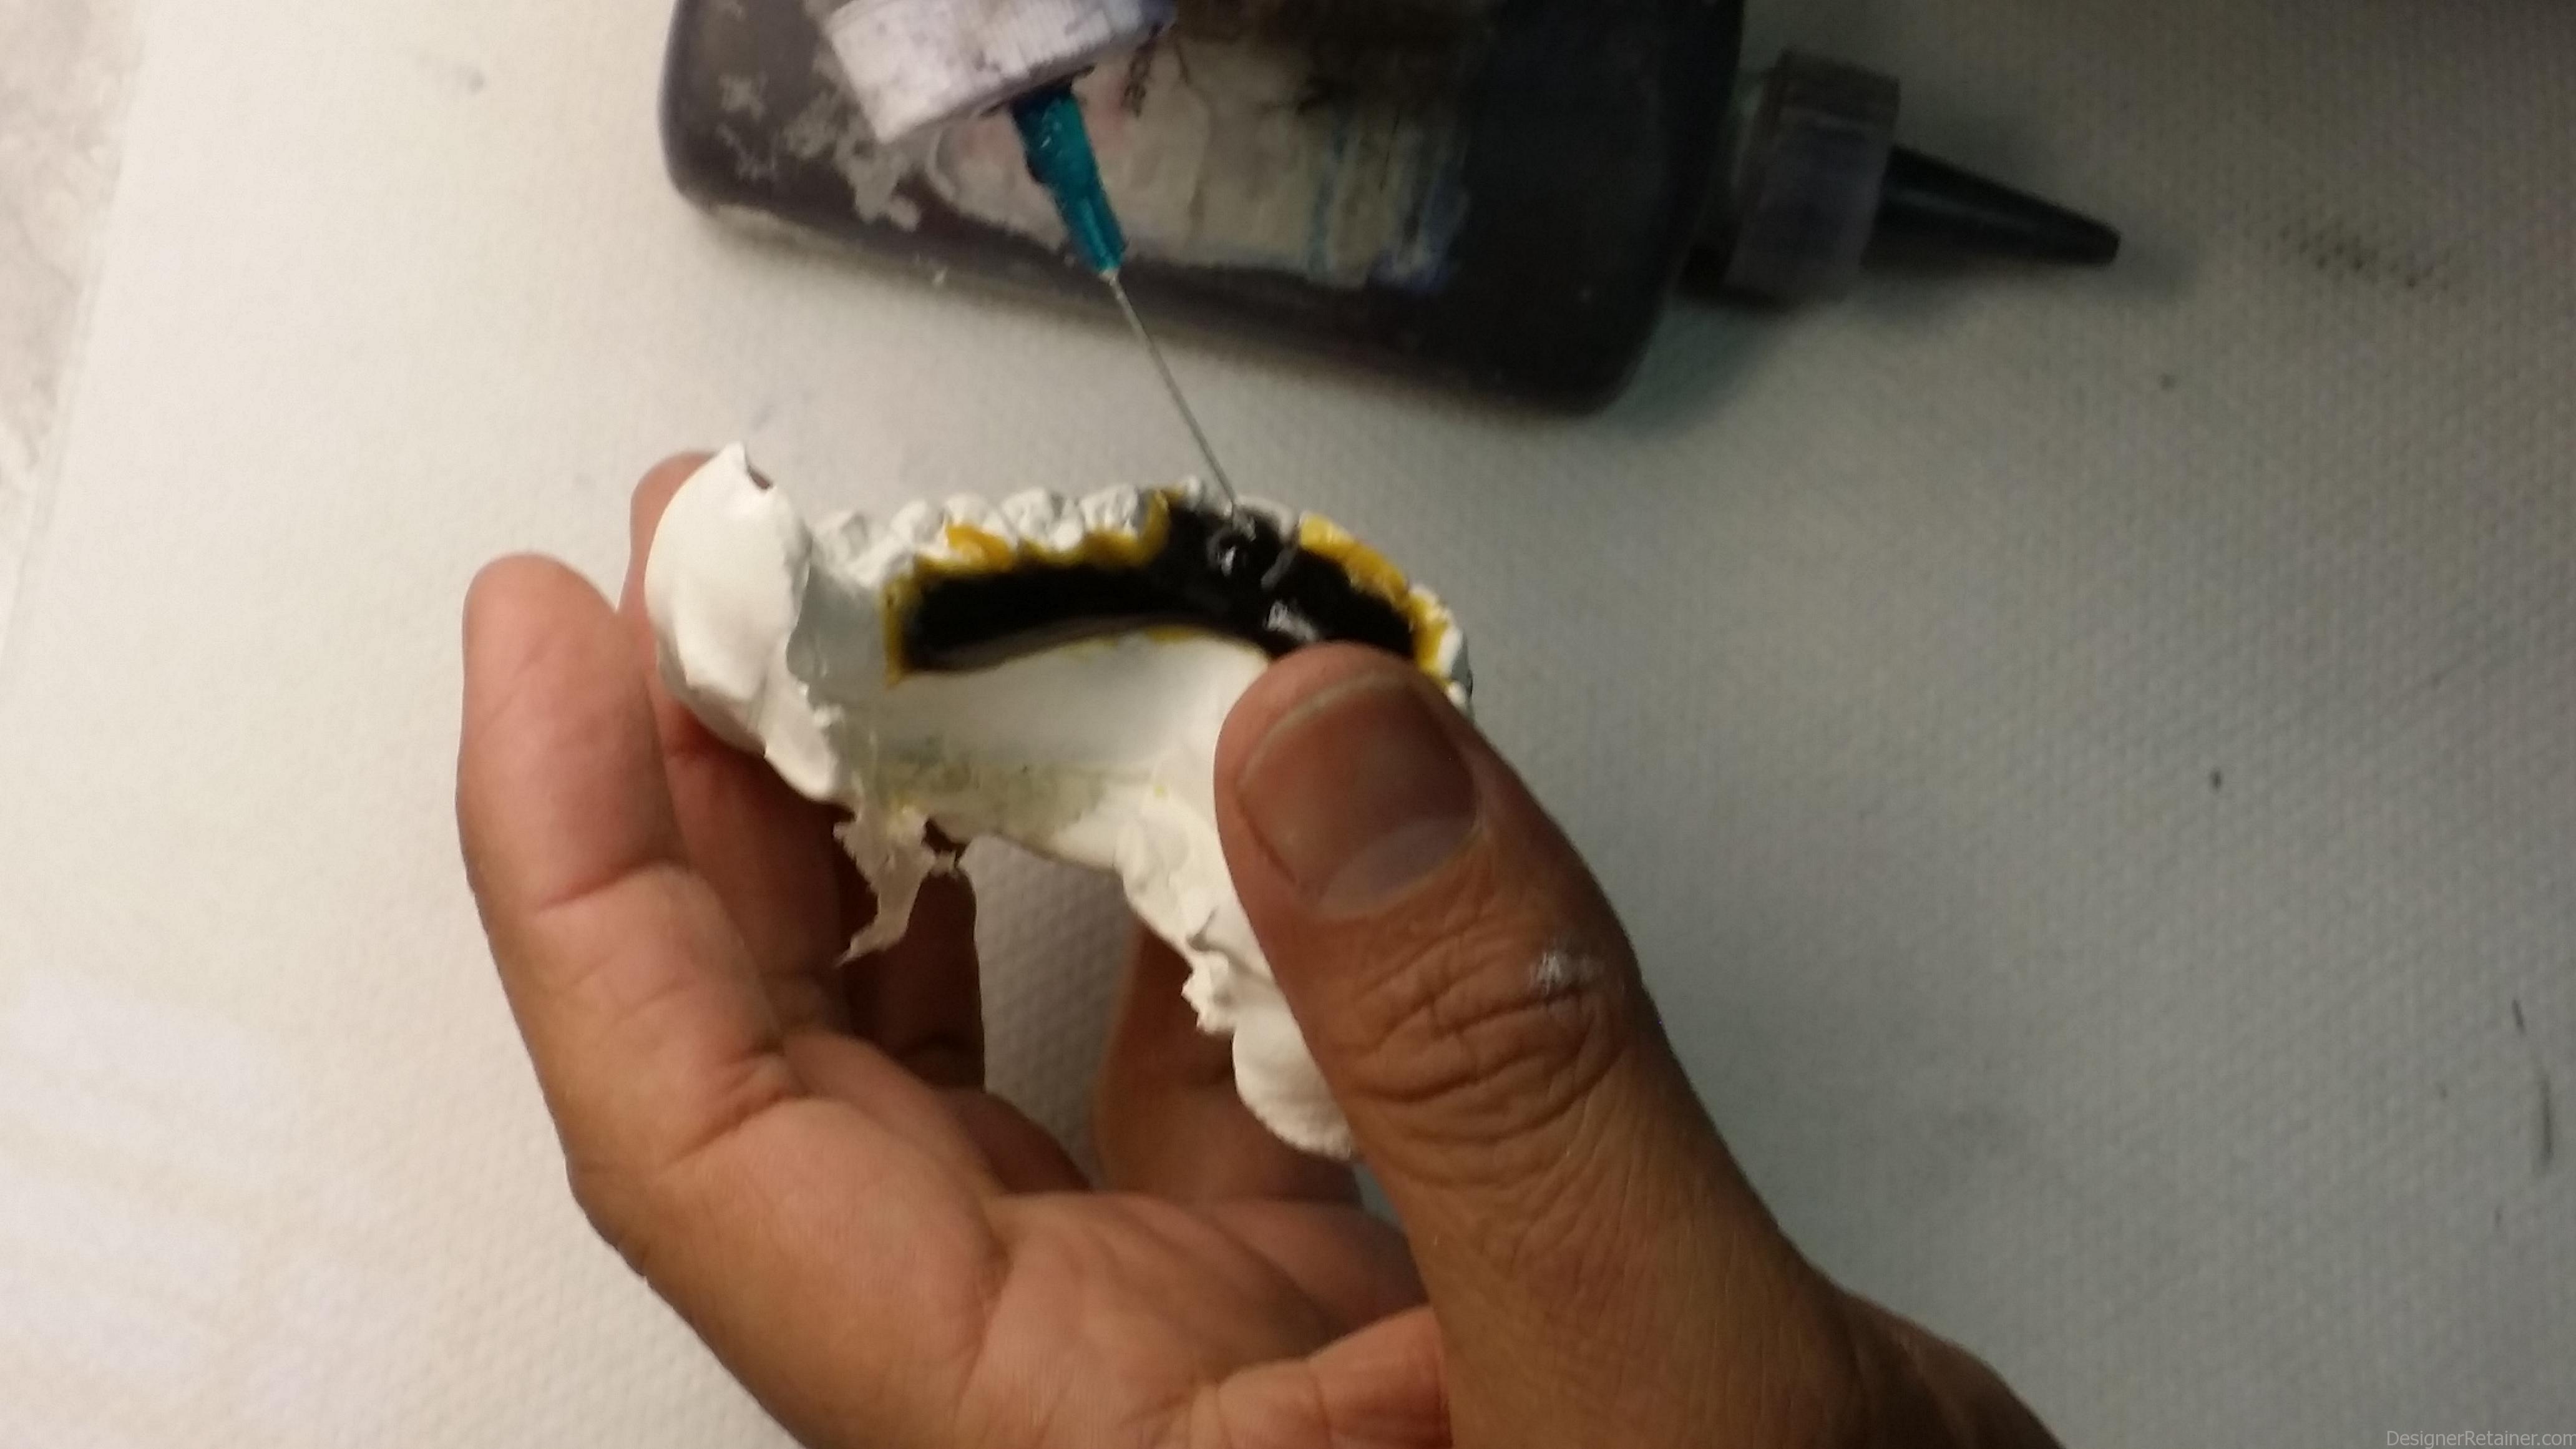
Add acrylic on top of the spring. Be sure to apply monomer first to the beveled edges to prep them to accept the new acrylic.
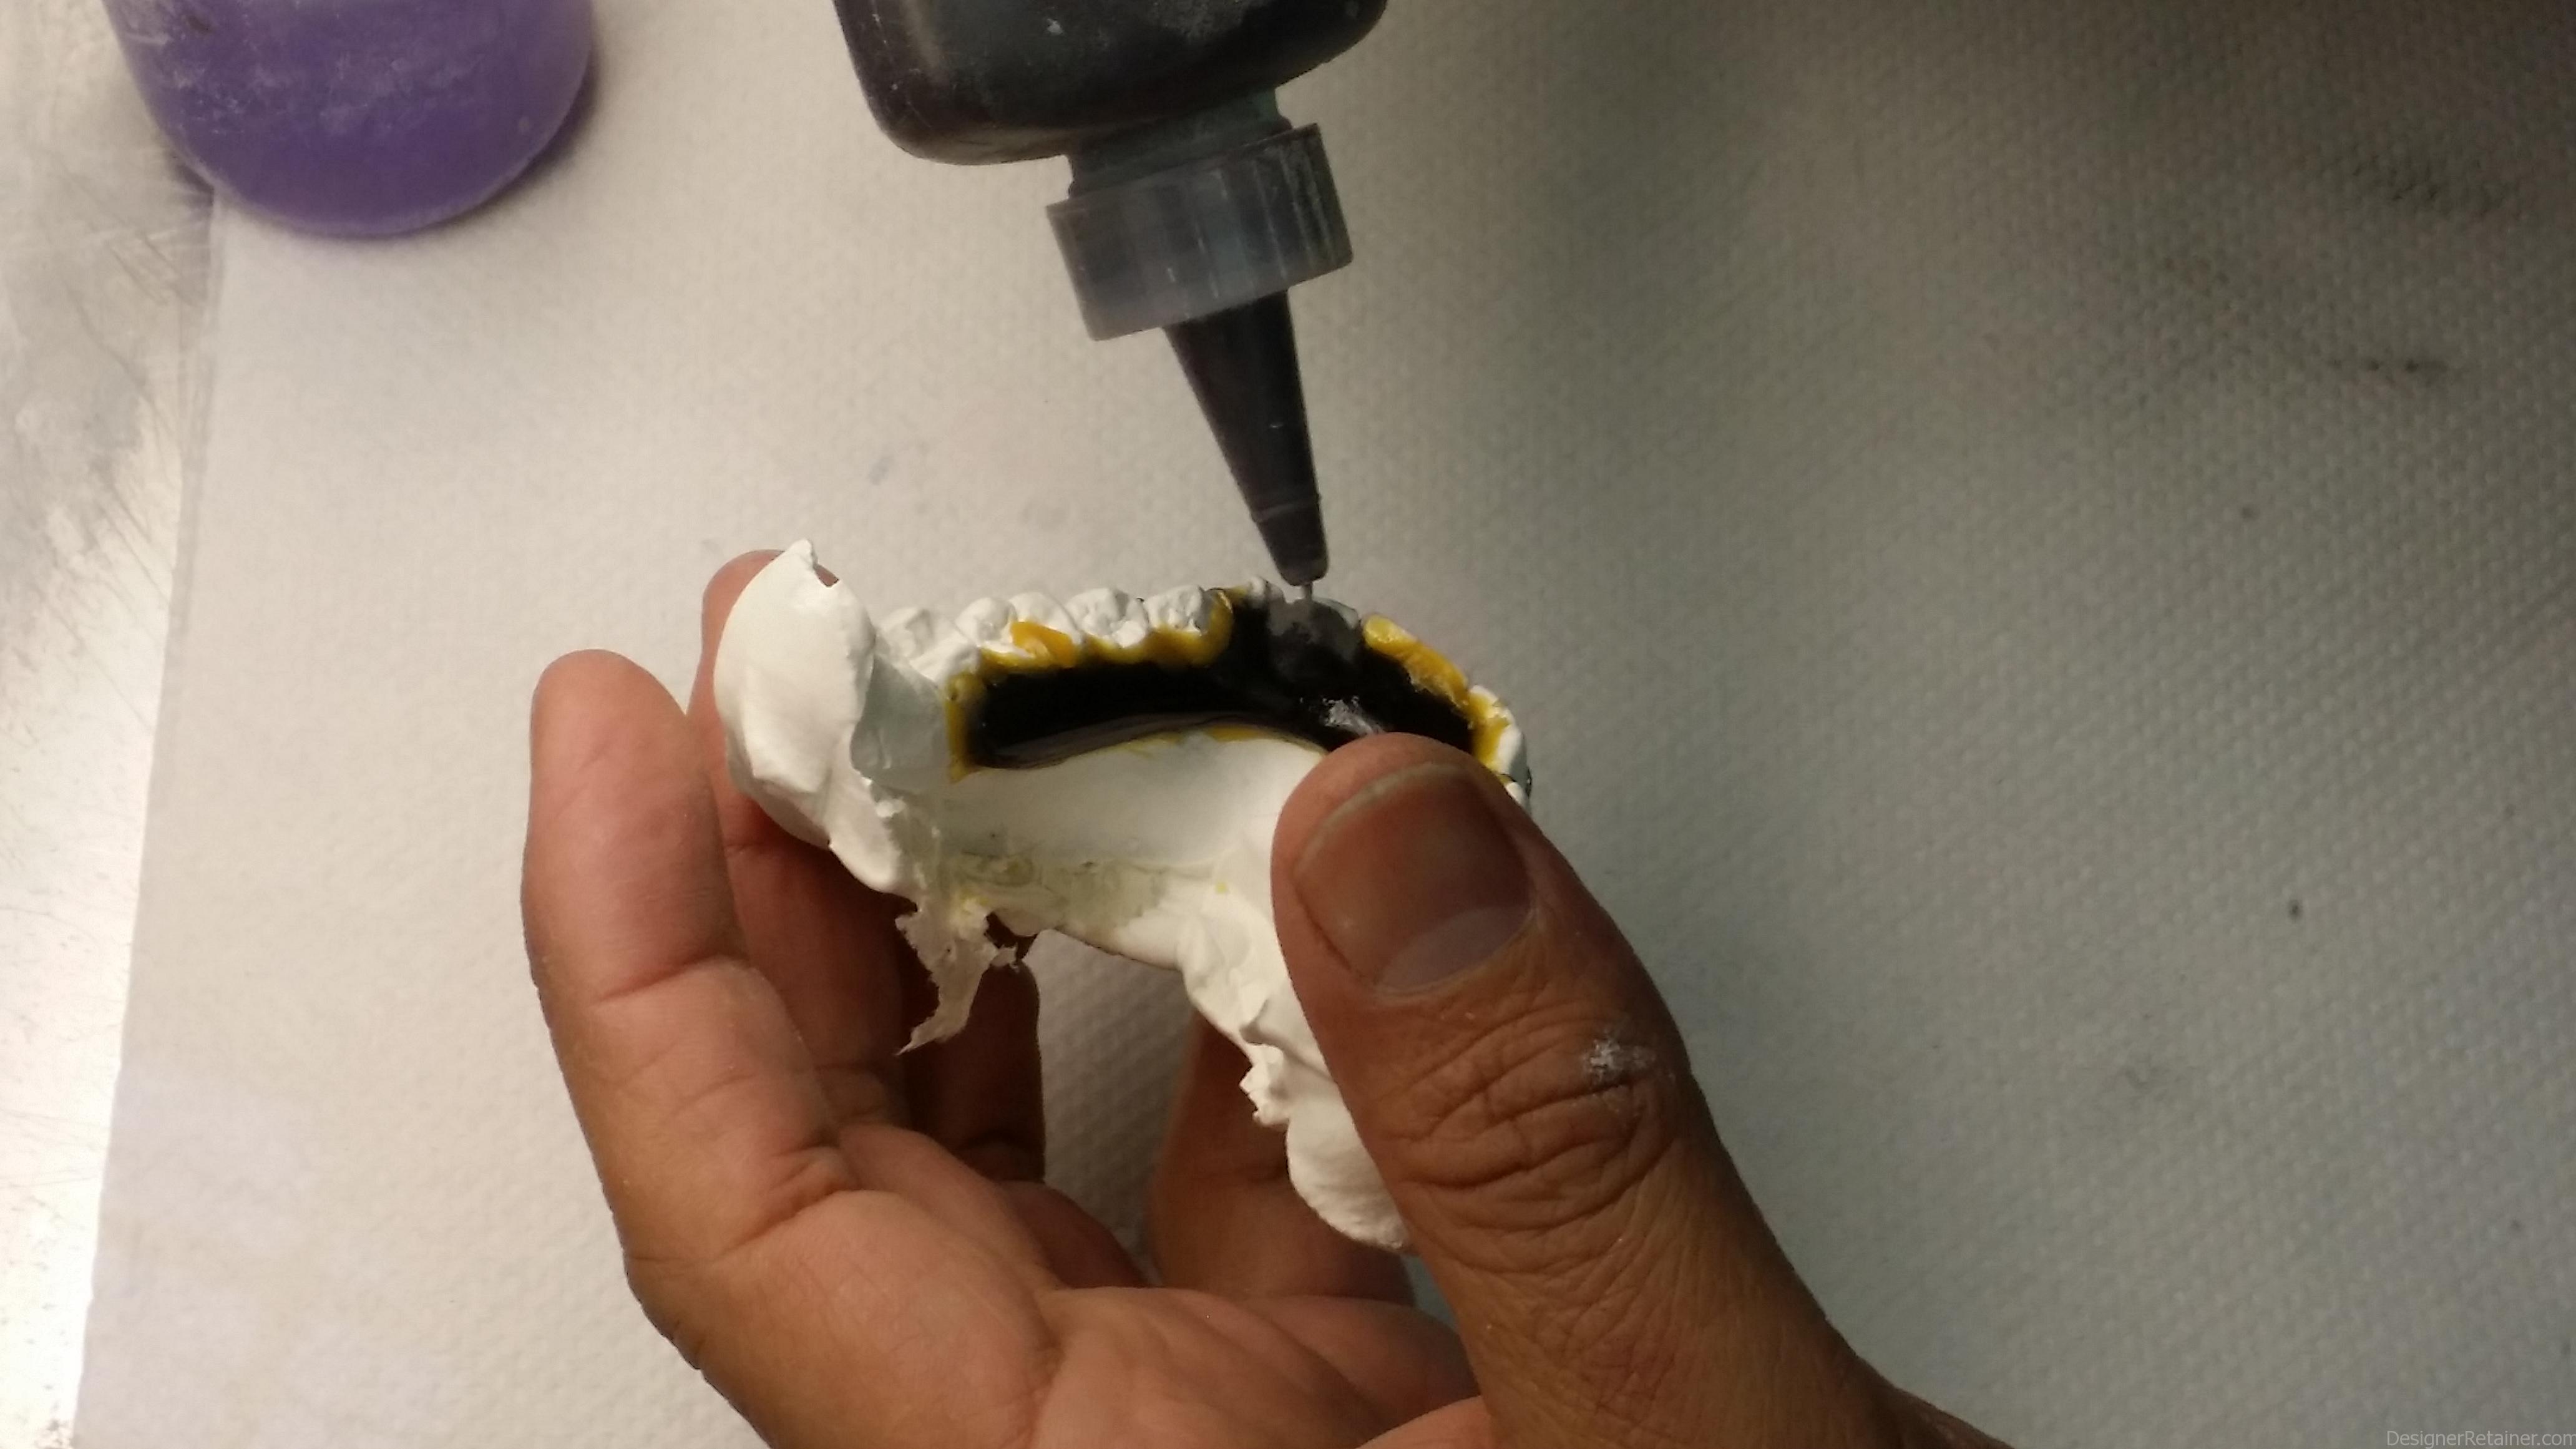
Be sure to overfill the area so you can grind it down even with the rest of the retainer
Grind new acrylic flat with old acrylic, pumice and polish
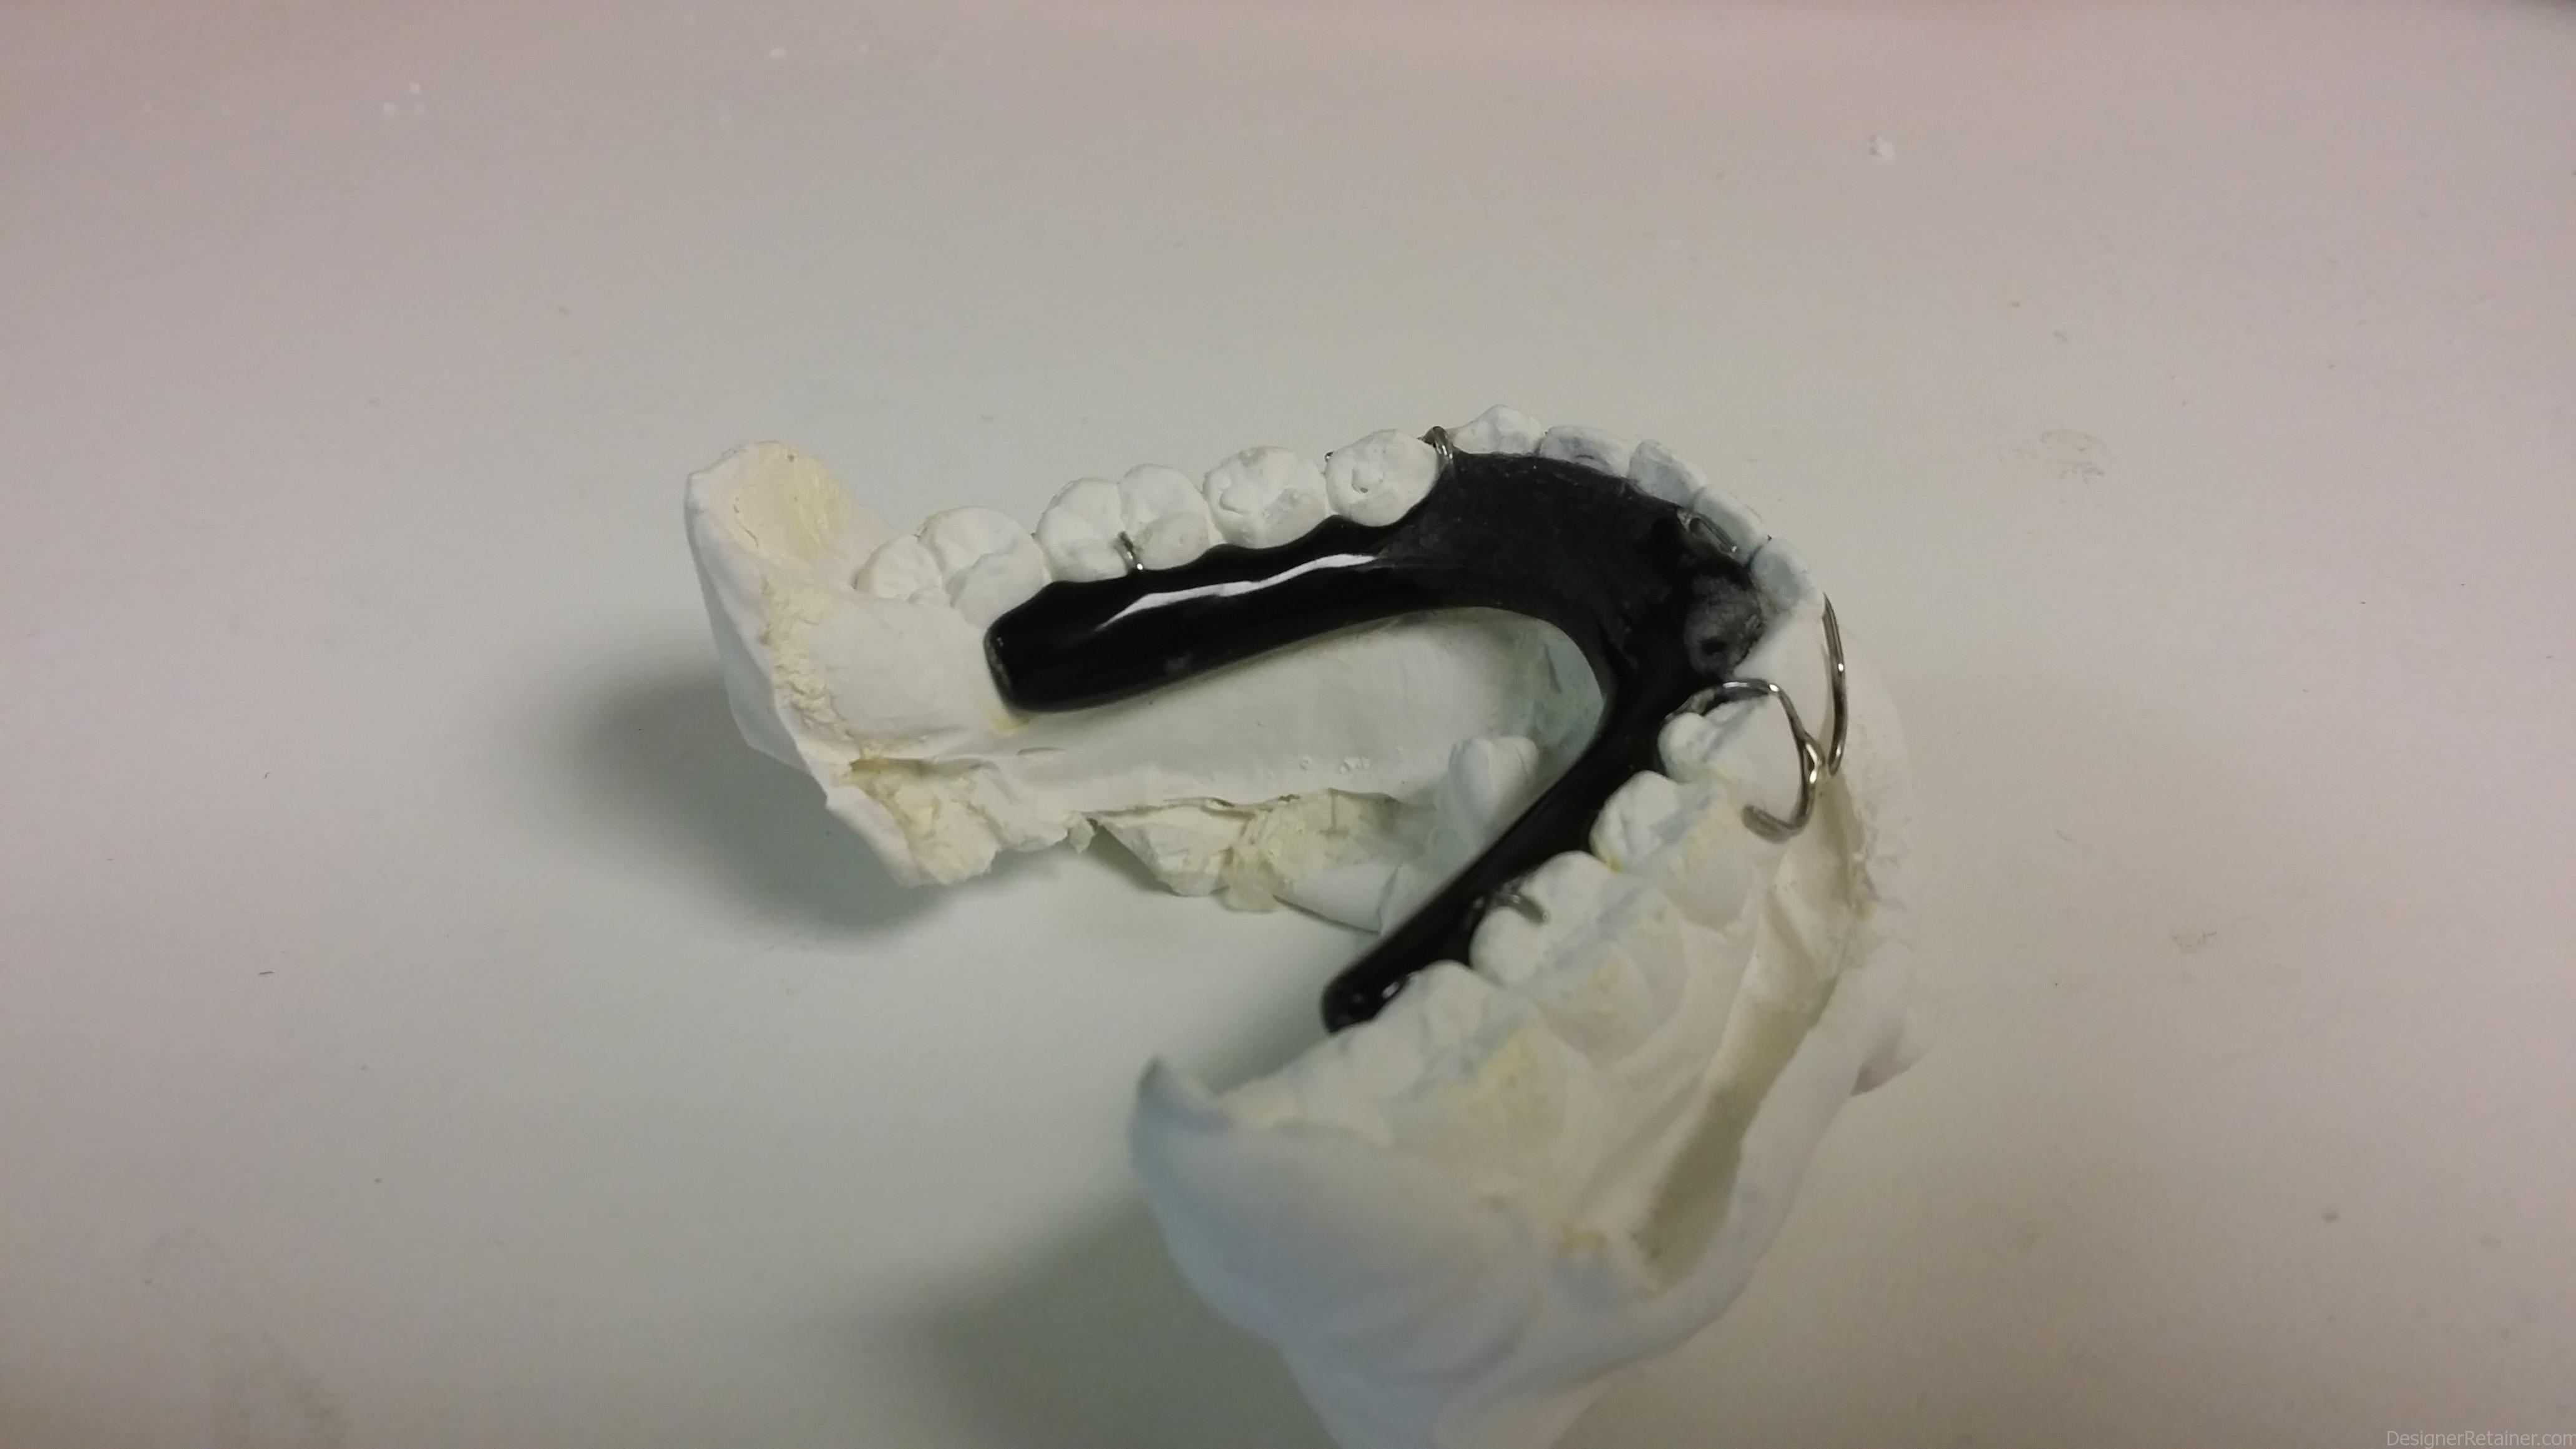
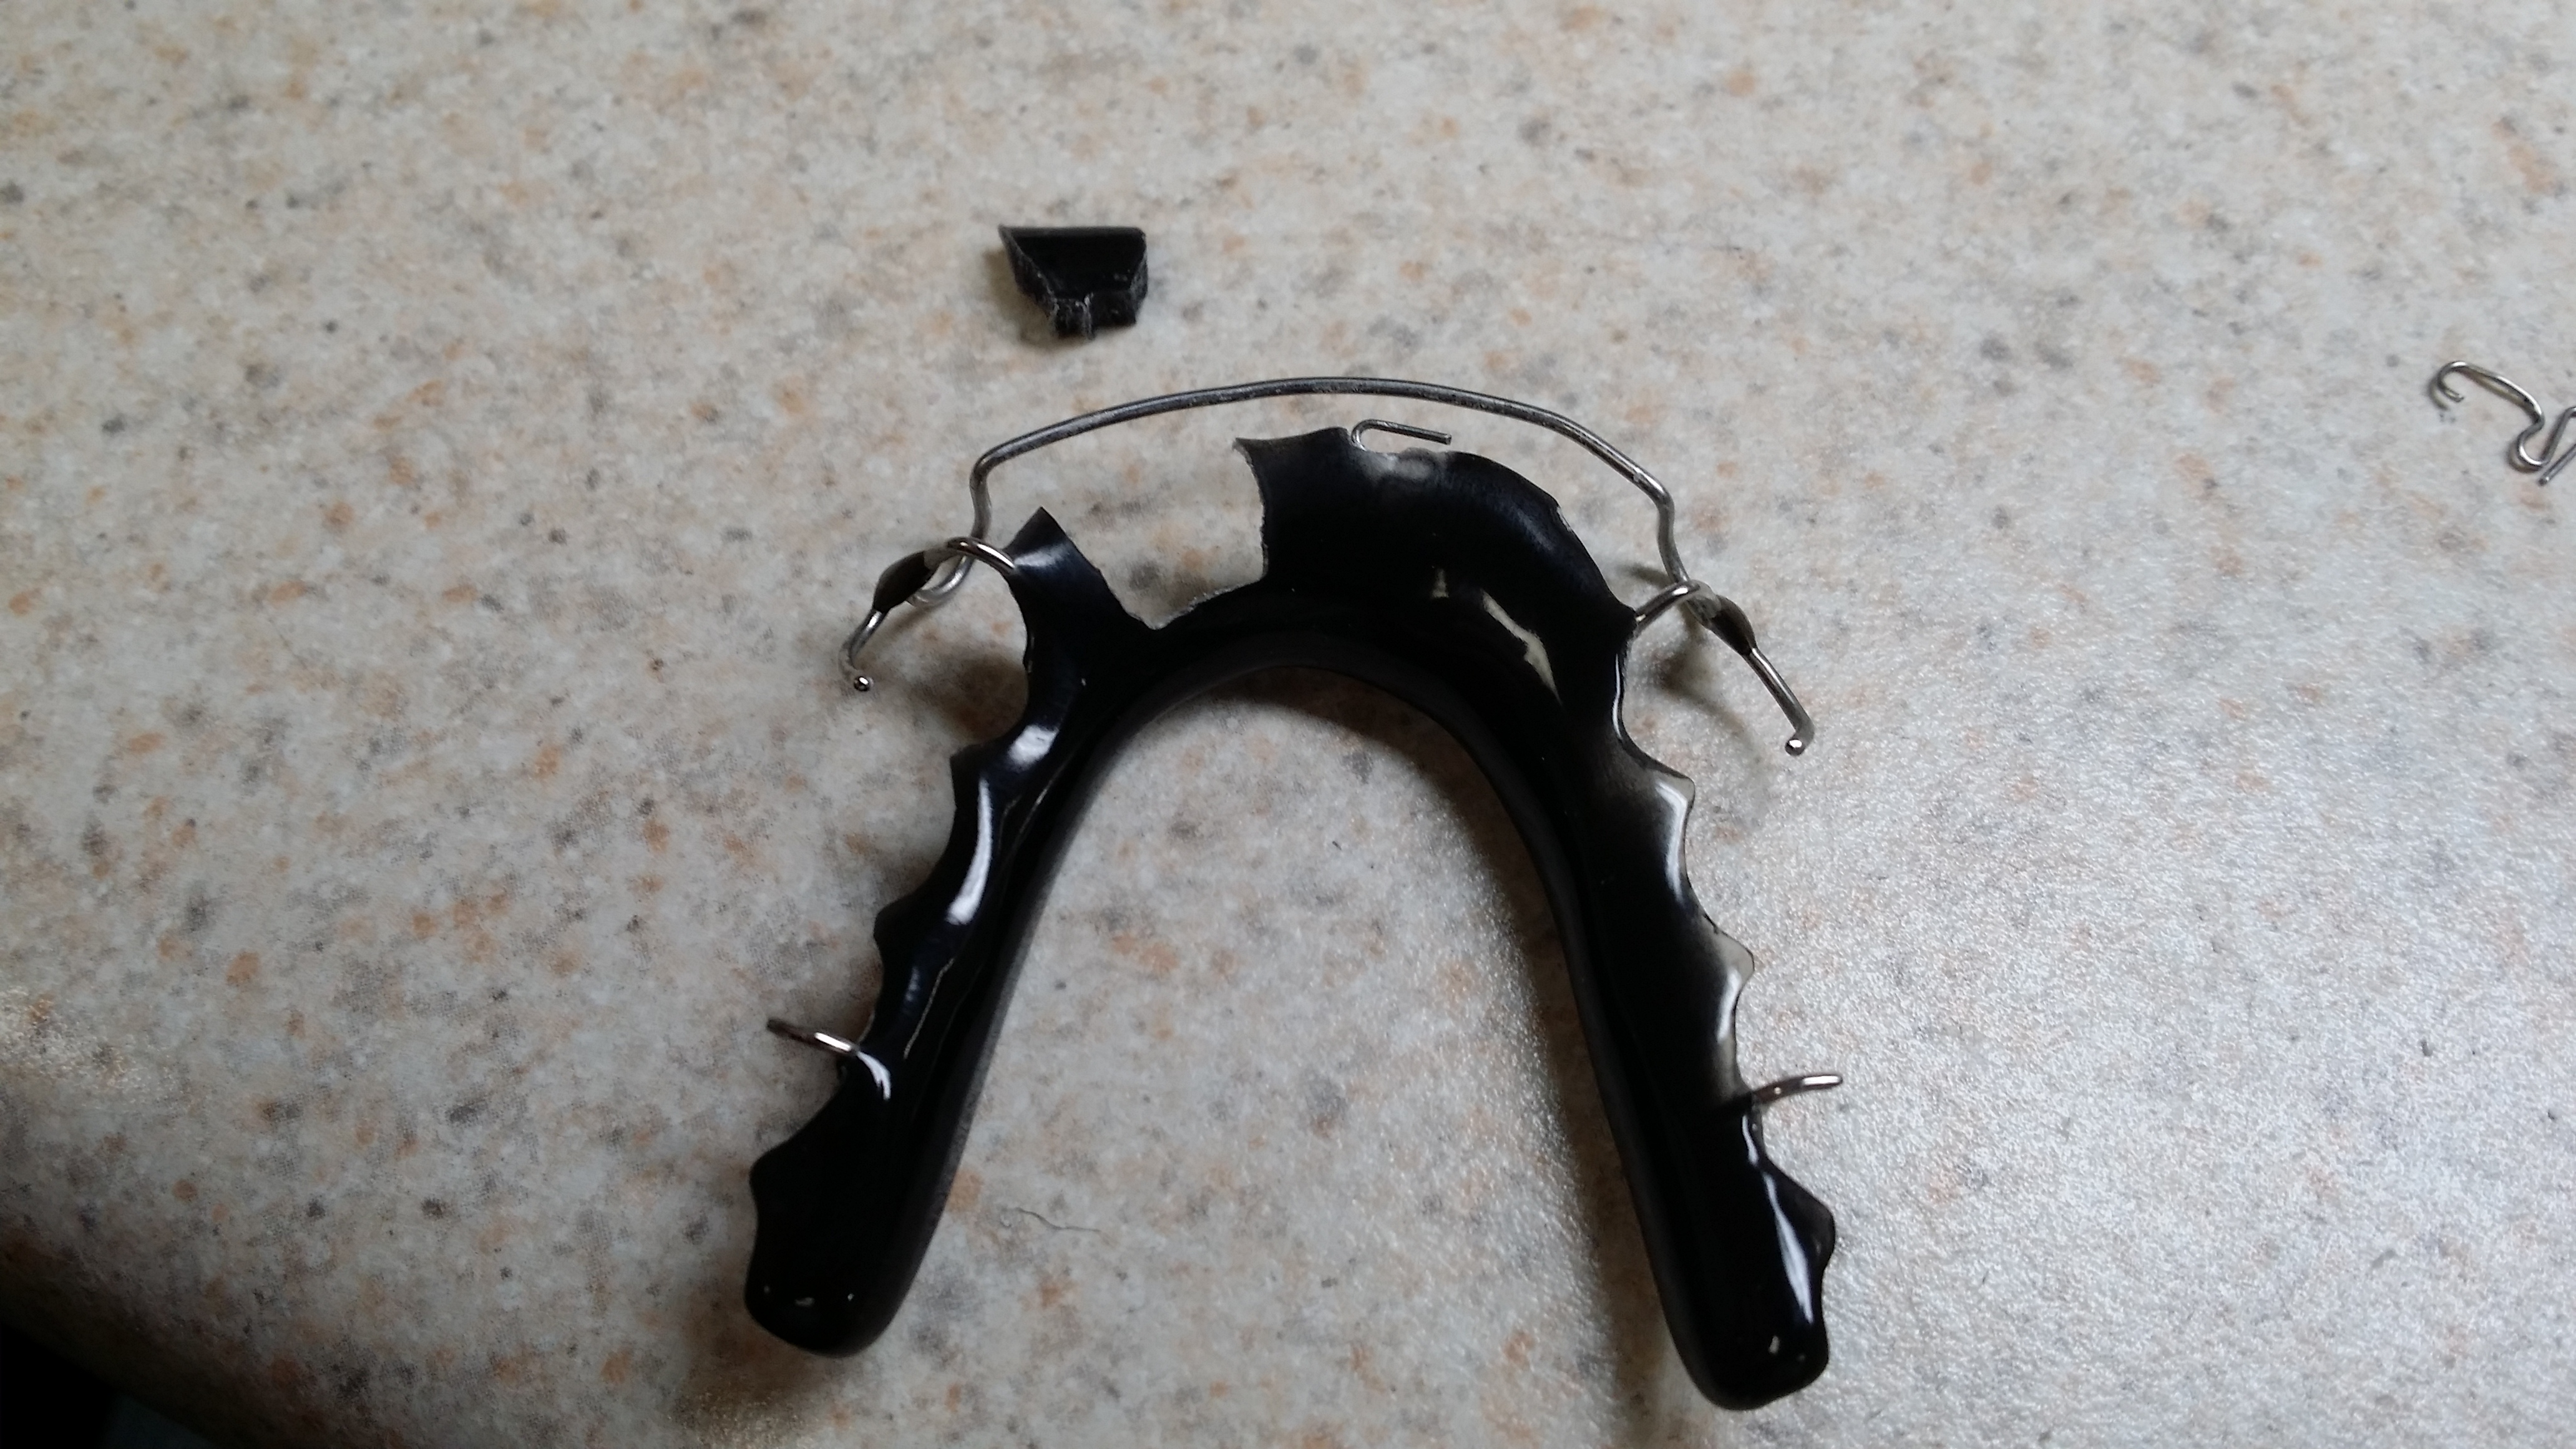
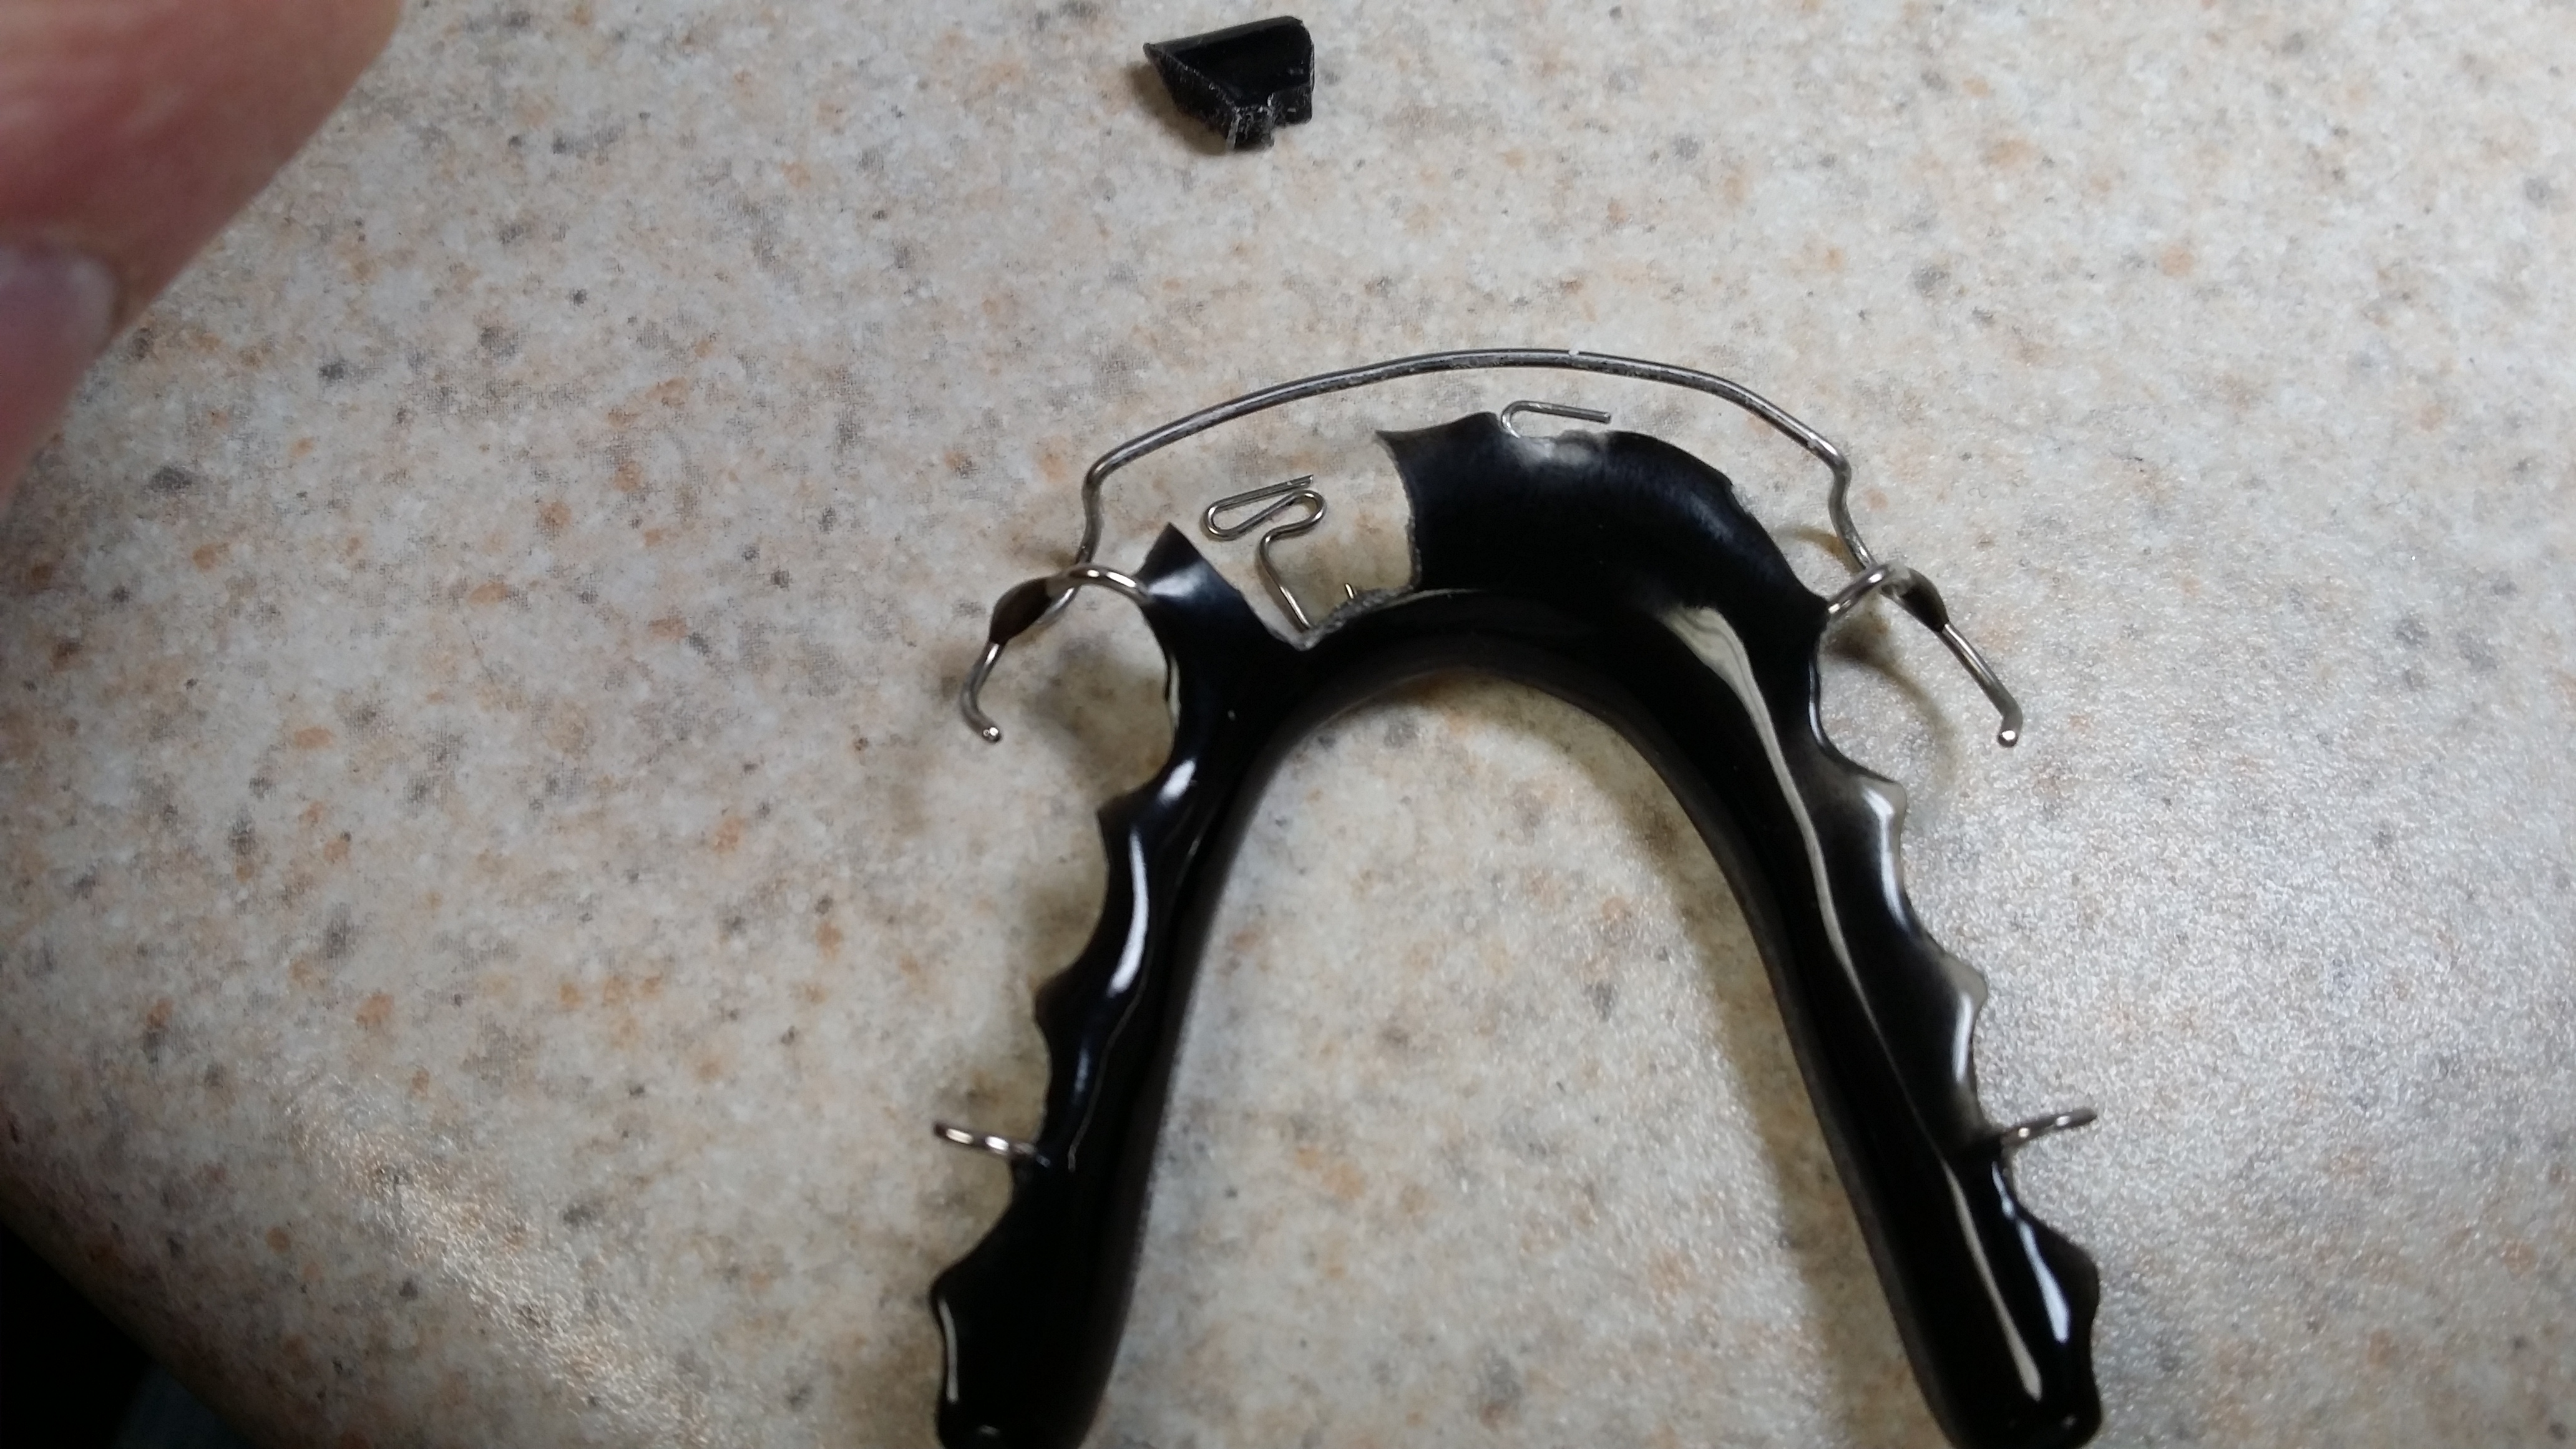
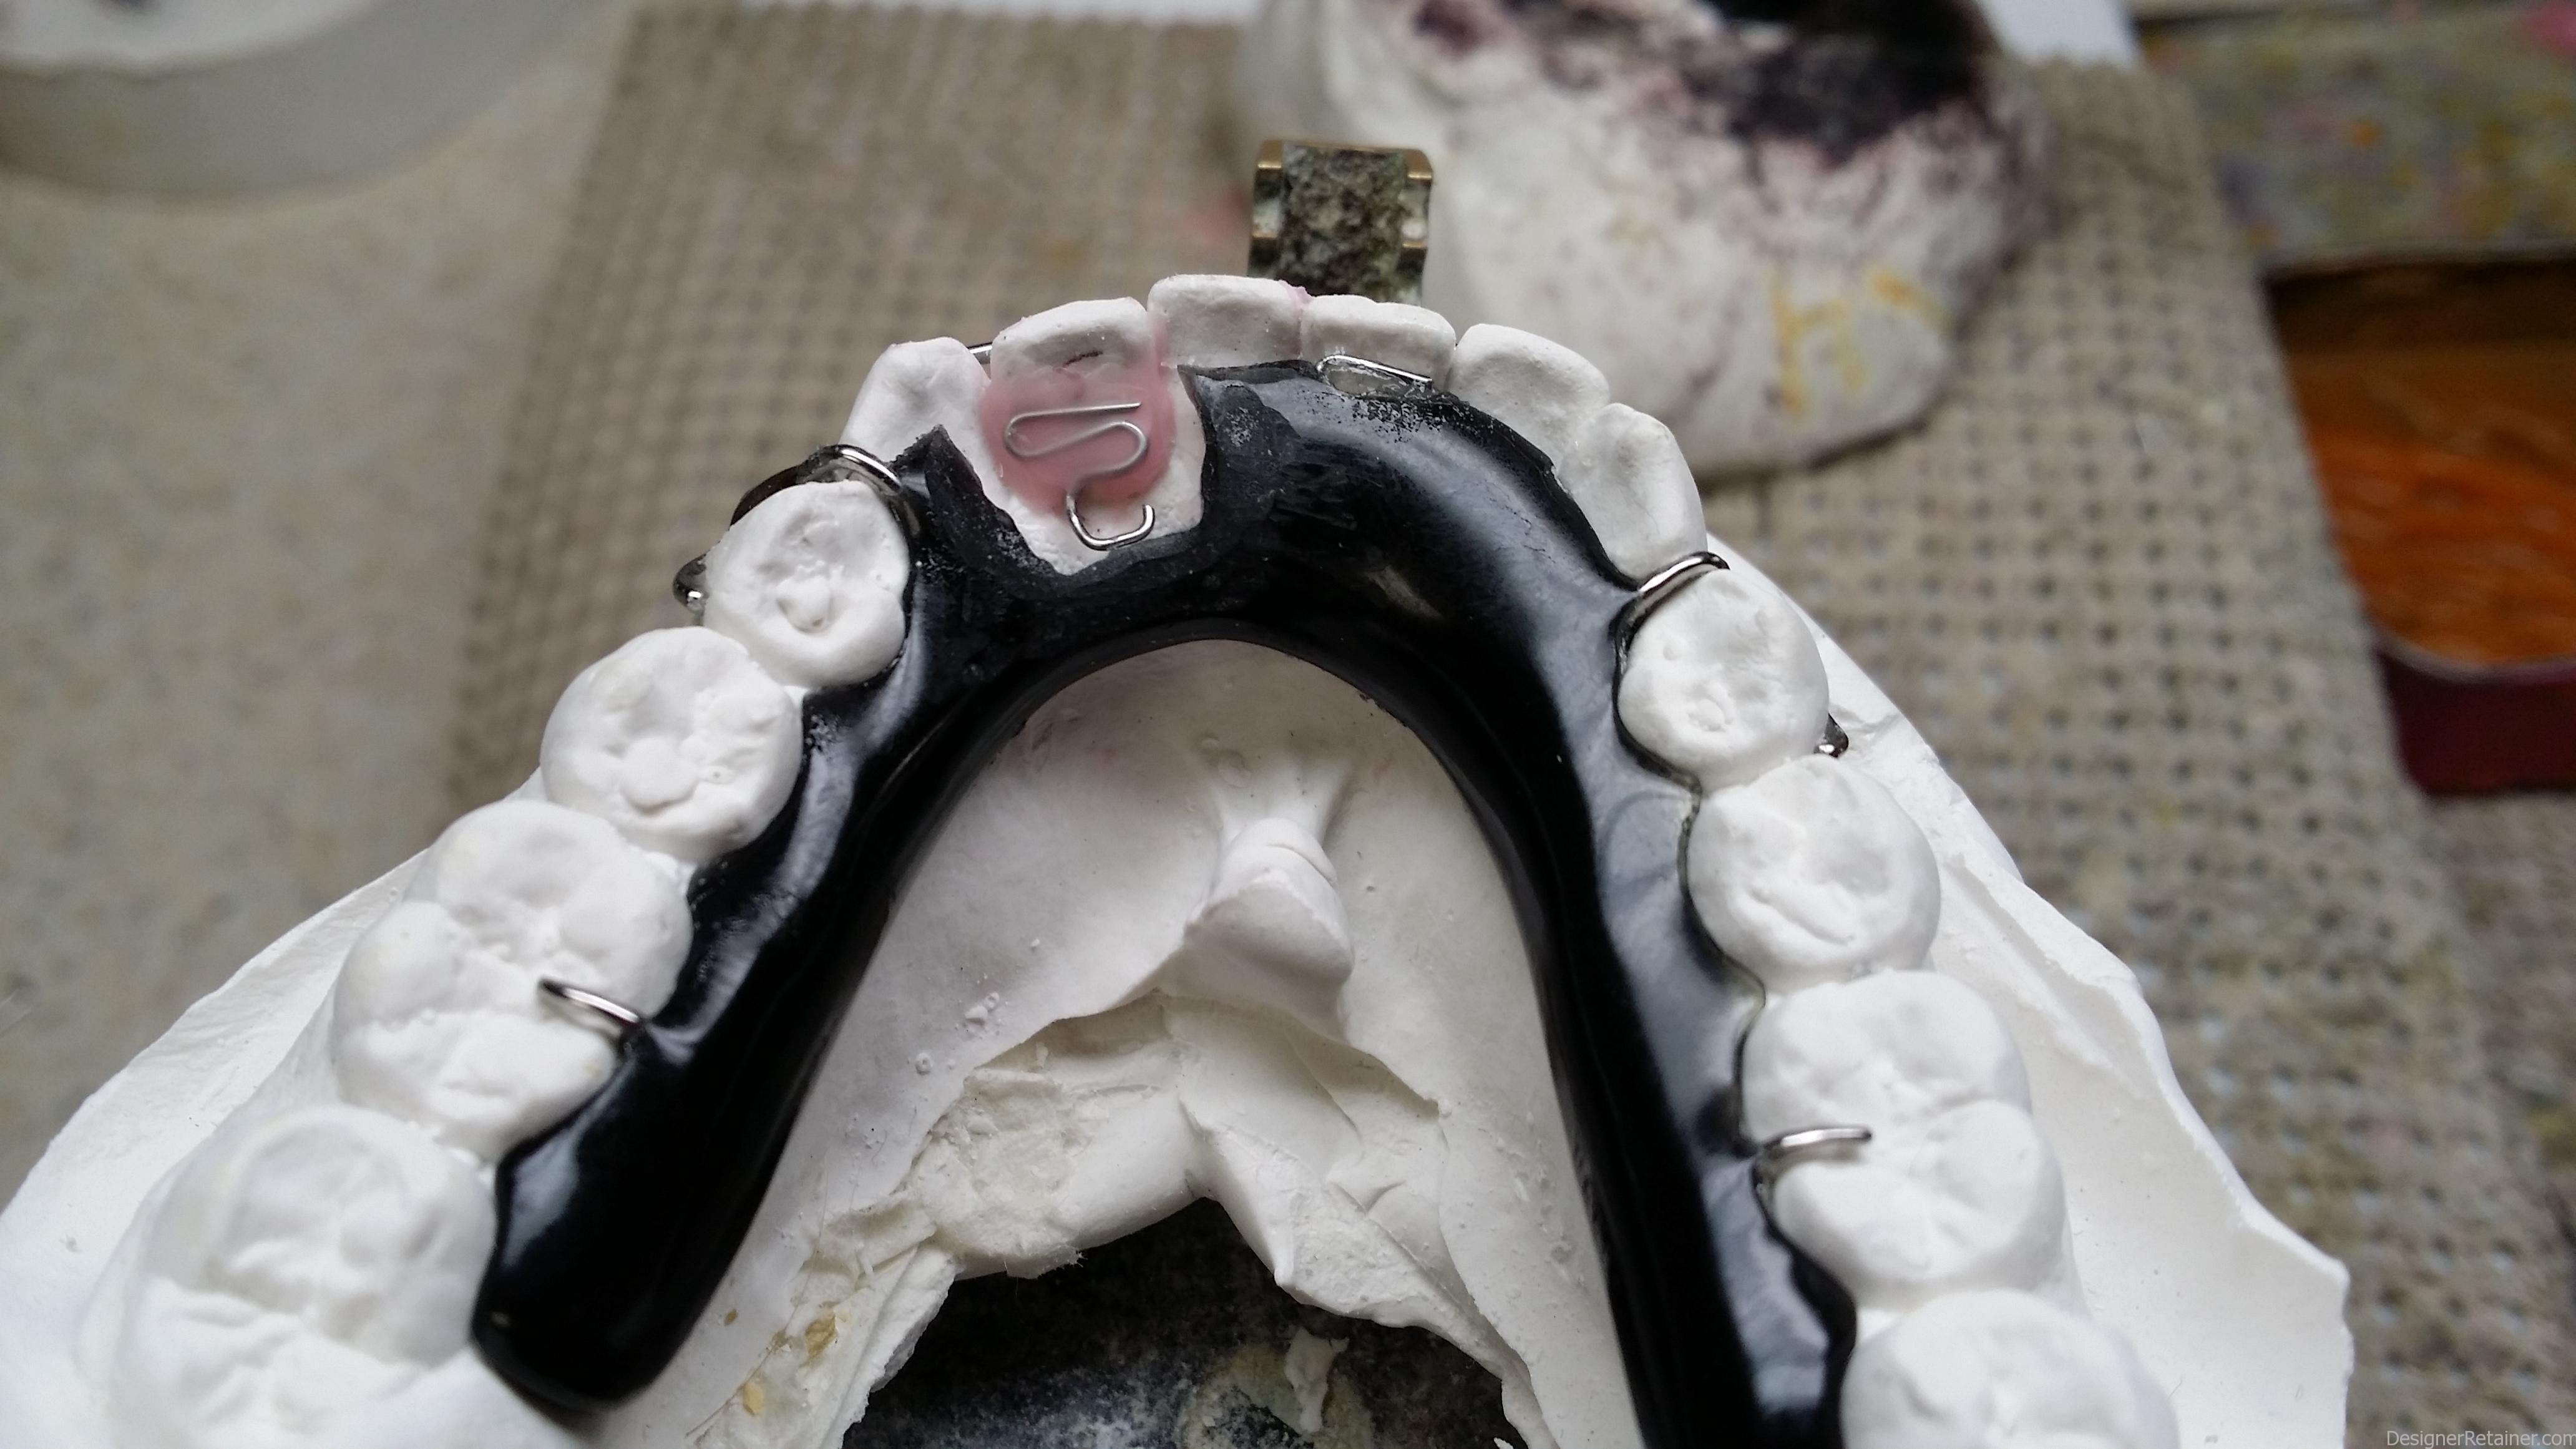
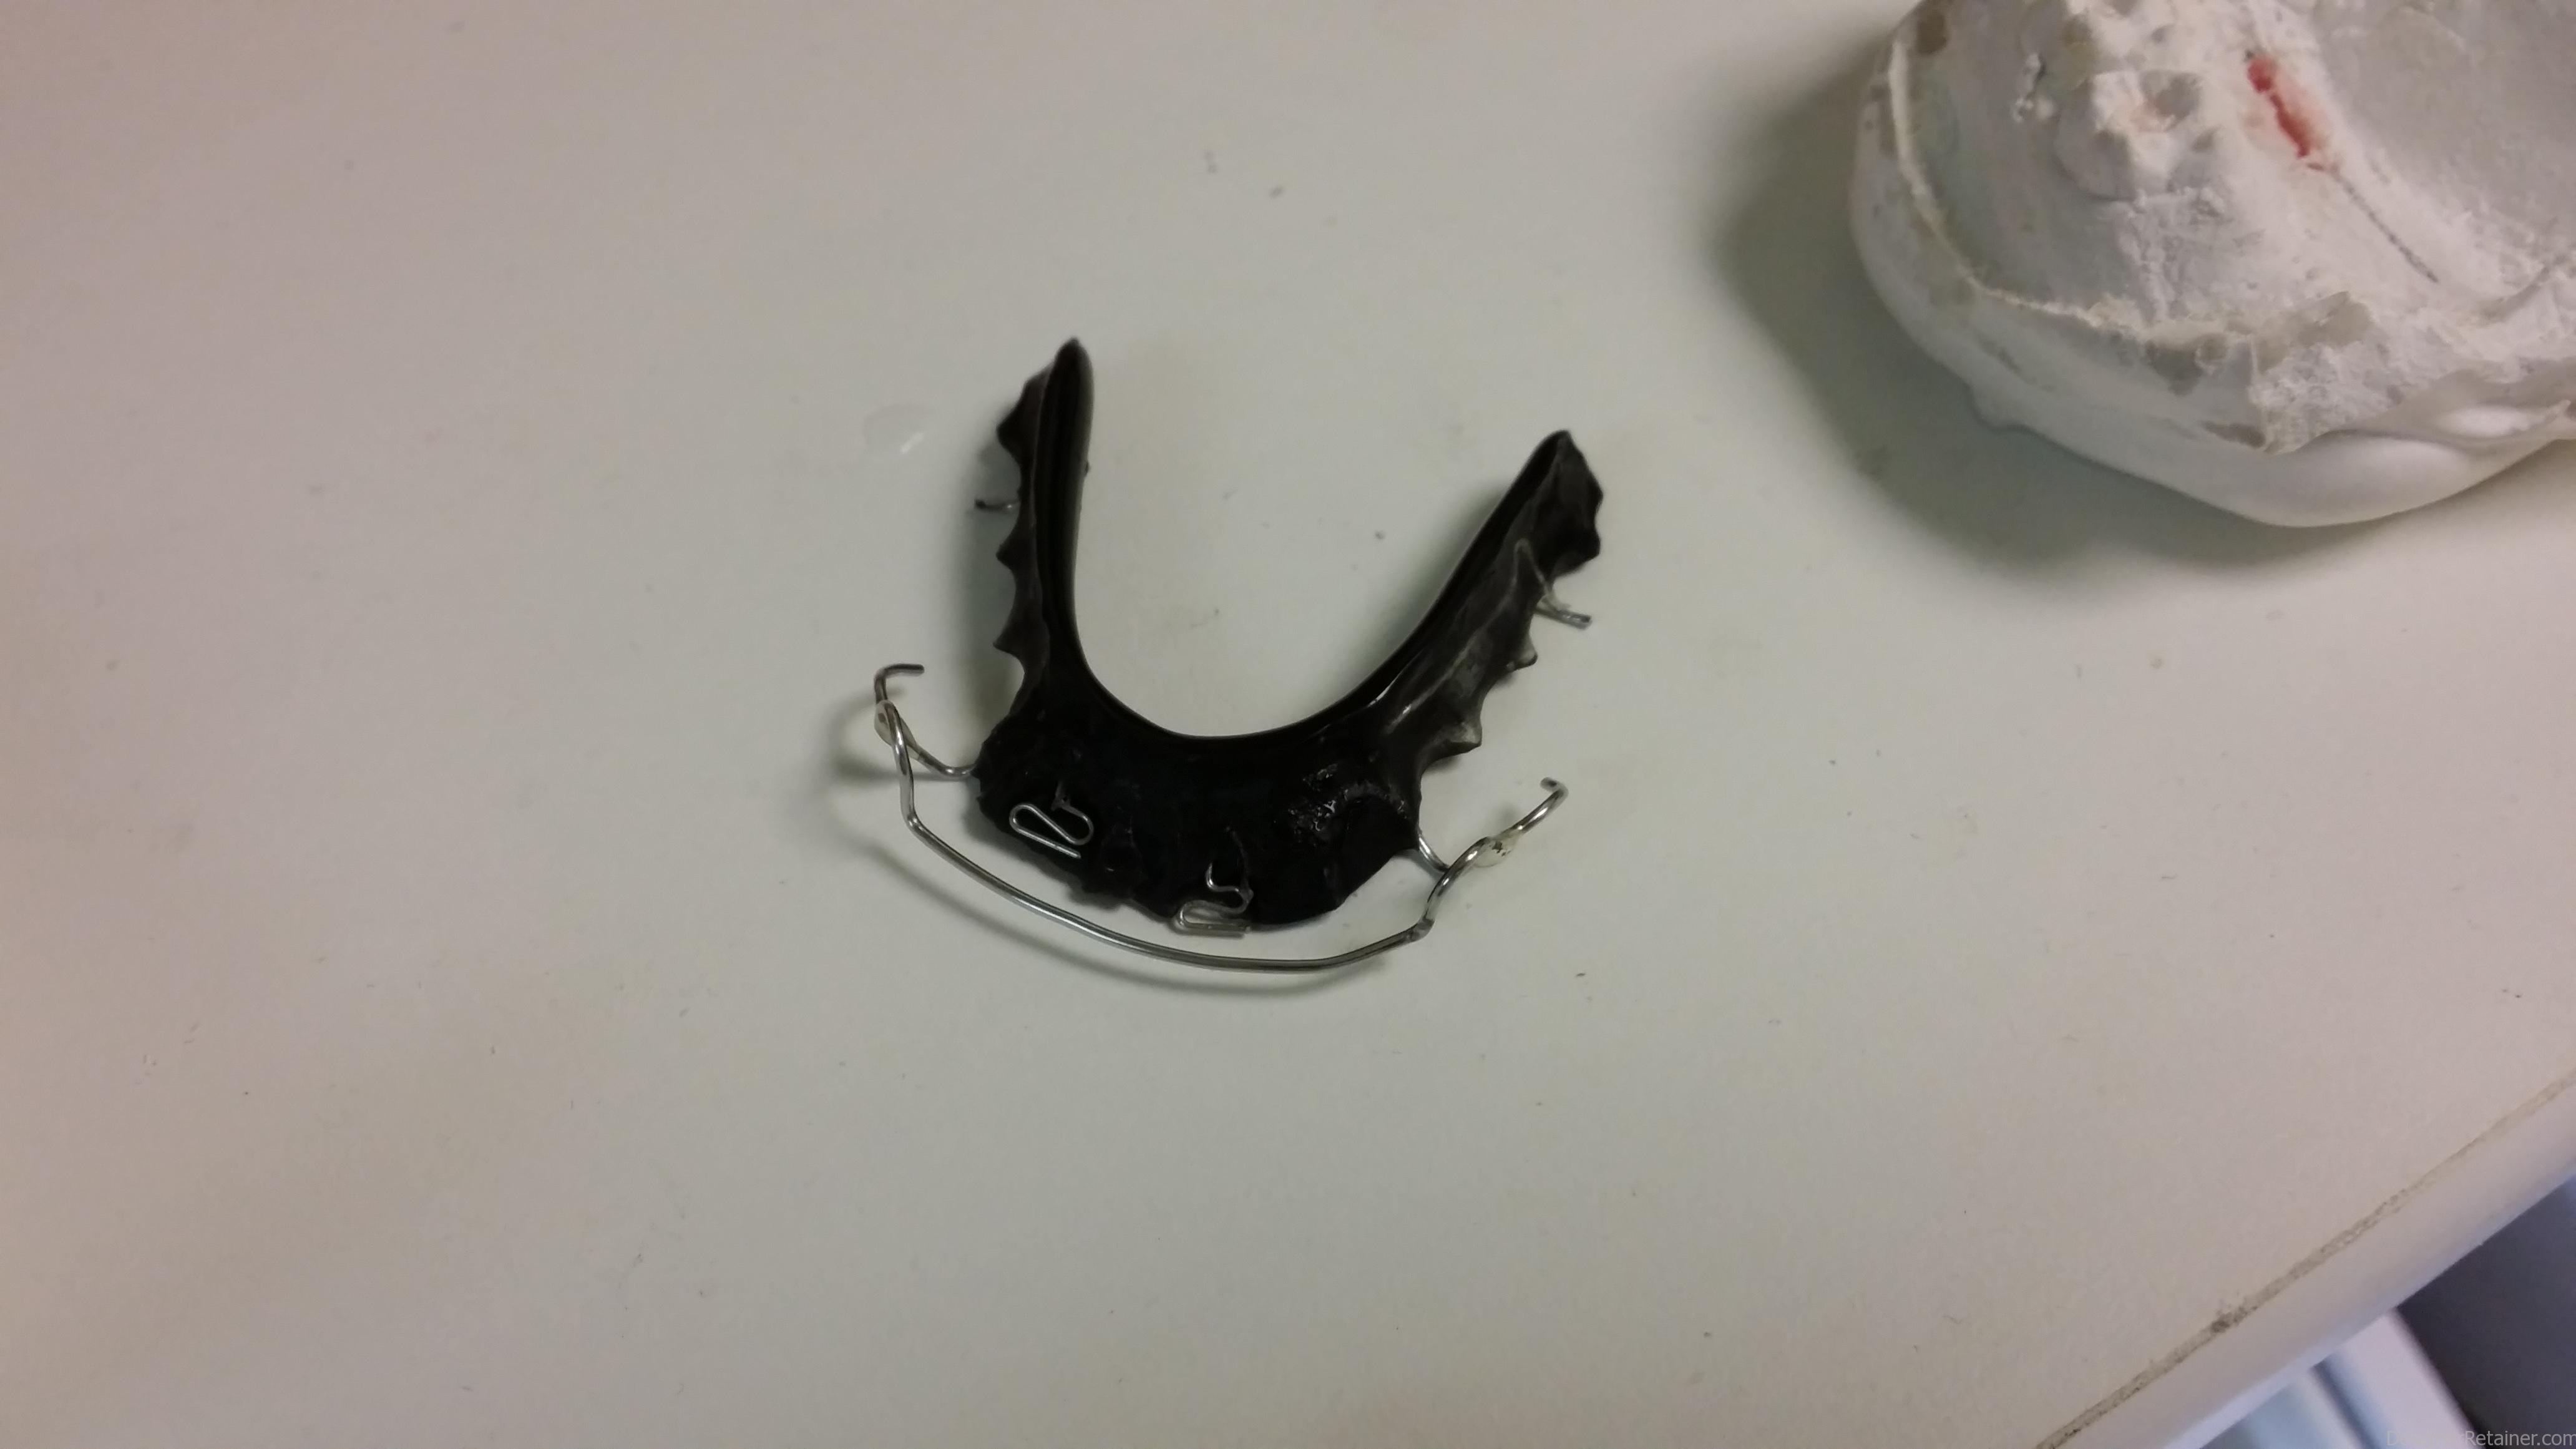
Underside of retainer showing new finger spring and old finger spring

- Underside of retainer with new spring


One thought on “Add a Spring to a Retainer”
How long does the finger spring treatment lasts?